|
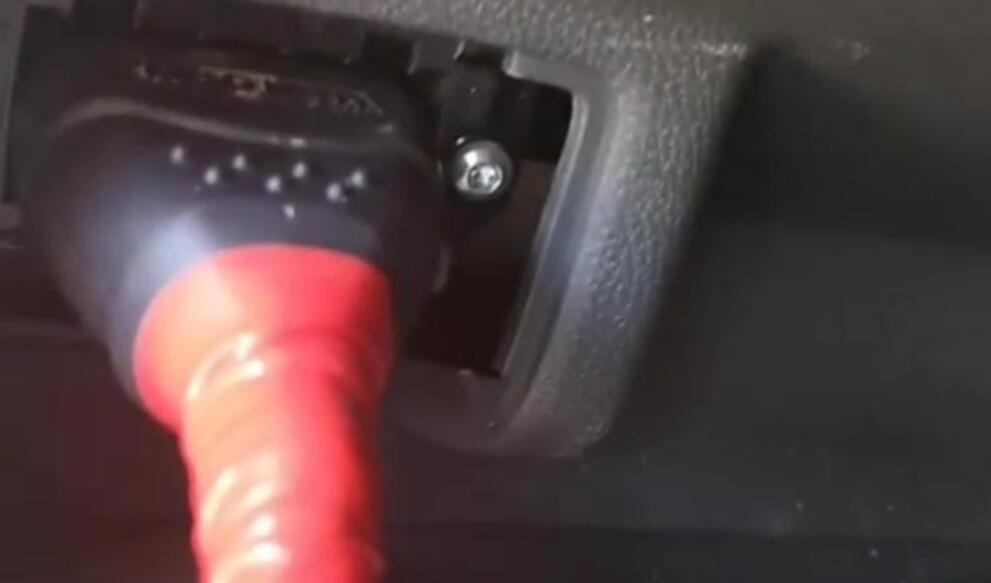
Whether you drive a Mercedes-Benz or a model from another make, you can reset the check engine light by using an appropriate scanner or by disconnecting the negative battery cable. However, if you don’t resolve the underlying issue, you’ll see the light reappear almost immediately. We’ve covered common causes and solutions below, so you can learn how to reset your check engine light with confidence. Why is Your Engine Light On? If you’re driving around Rye or Stamford, scheduling service at Mercedes-Benz of Greenwich is the easiest way to solve the issue before it slows you down. If you have a scanner, you can also read the code and visit our store for any Mercedes-Benz parts you may require. Can You Drive Your Mercedes-Benz with the Check Engine Light On? In the long term, failing to resolve any of these issues will limit your vehicle’s performance, and they could cause your engine to wear out more quickly. Will the Mercedes-Benz check engine light reset itself? If you’ve dealt with the underlying issue, it certainly should! After you address the issue, drive for a few miles to see if the light goes off on its own. If it does not, you might want to visit our service center for a closer look. Of course, you could also try to reset your Mercedes-Benz check engine light at home! If the light stays off after your manual reset, it means that you successfully resolved the underlying issue. Find out how it’s done below. How to Reset a Check Engine Light Using a Scanner How to Reset a Check Engine Light Without a Scanner If you want to read more about benz, please click benz trouble repair. Here is a step-by-step guide on how to use Scania SDP3 diagnostic software to do Speed Limit setting for Scania truck. Preparations: Steps: Plug the VCI3 Scanner to this Scania via OBDII port and don’t forget the passenger PIN code.
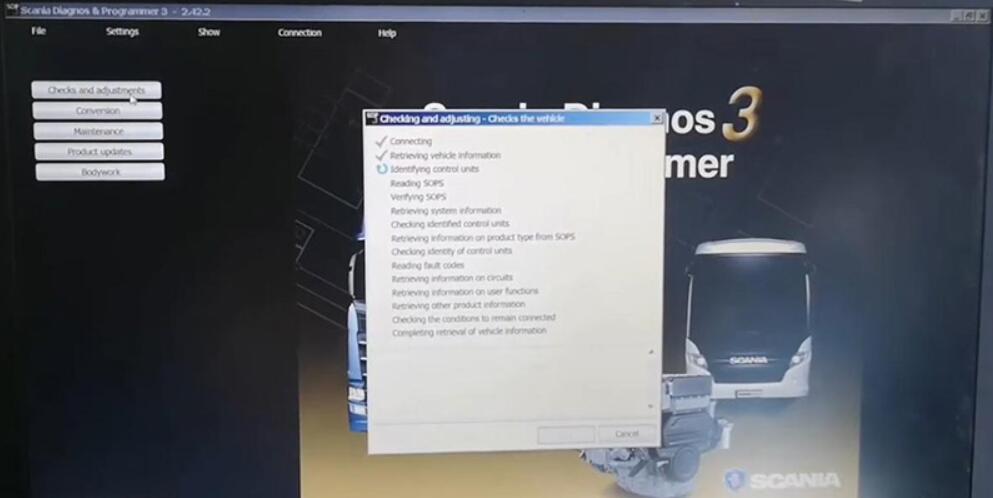
First turn on the car.
Go to
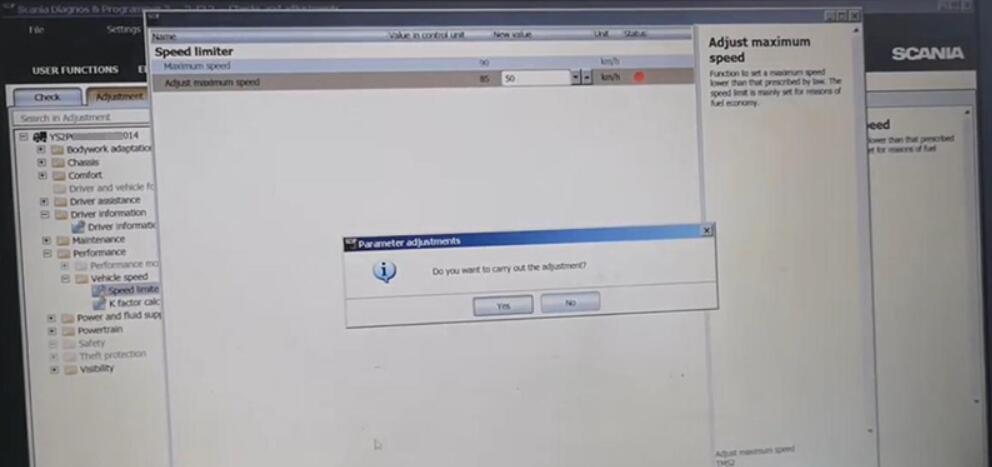
As the customer required, we set it from 85 to 50 km/h and click on “Execute”.
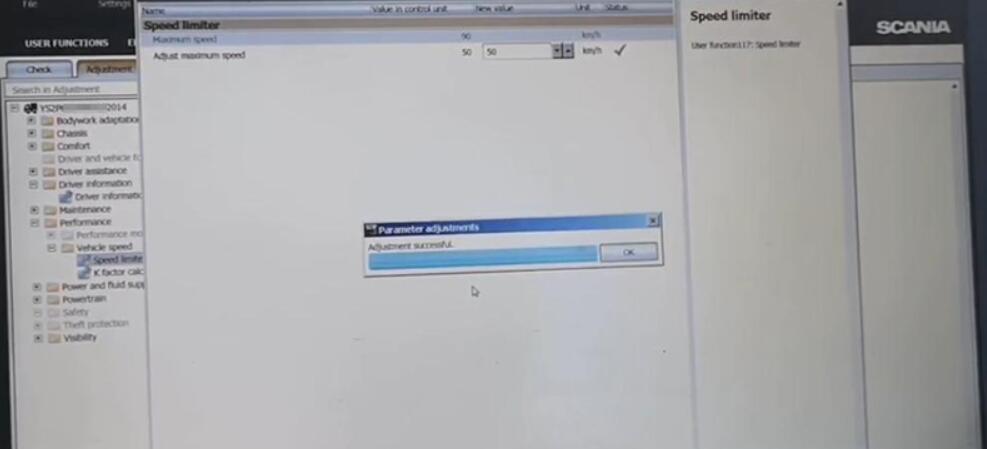
Done! Nice and simple! OBDSTAR X300 DP PLUS is an advanced diagnosing technology and it is characterized by covering wide range of vehicles, featuring powerful function, and providing precise result. Through vehicle diagnostic OBD connector and variant mobile intelligent terminals, it achieves vehicle trouble diagnosis for full car model and full system vehicle.
And it with the strong function and good technical support We got feedback that one customer cant find back the odometer menu with the machine Lets check the solutions as bellowing : 1.Click Home button, choose “ES File Explore” 2.Click “Home”, and then click ”DP” 3.After entering the DP menu, choose the SN No. file 9014XXXXXXXX–FUNCTION–MILEAGE, At the bottom of this file, there will be a “en.cfg”, find it and delete it. 4.Re-start the device. 5.Enter into “upgrade”menu, then choose any of mileage correction software, download it. Here is a quick guide on how to do a relearn on your radio if it is got a theft lock. This radio i acquired did not come like this.
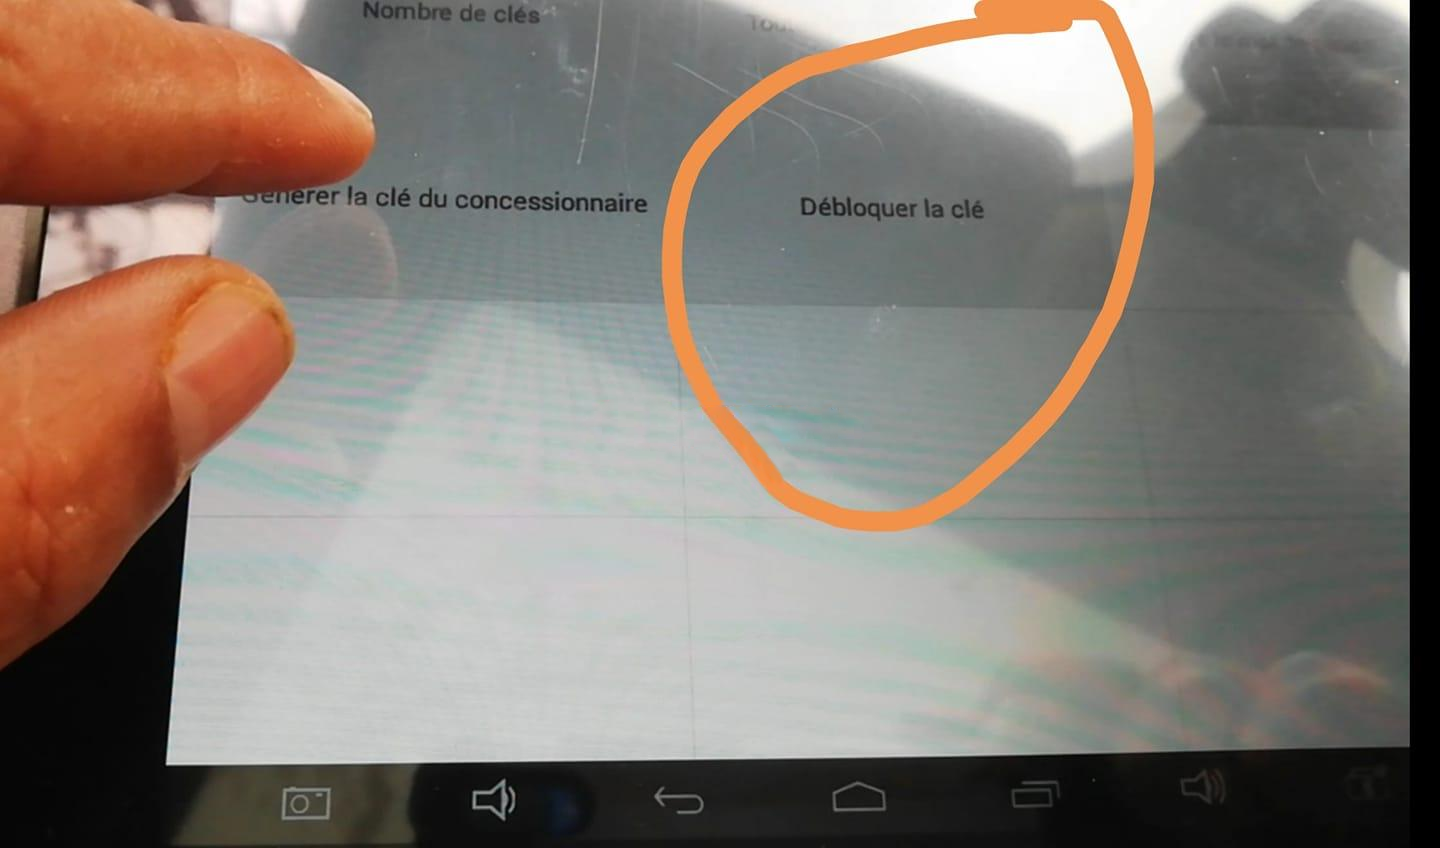
This is the original radio on my old 2006 Corvette so i wanted a little upgrade on it. When i installed it said theft lock. I did some research that dealer wants almost $200 to do it VIN relearn. So I’m here to show you a cheaper alternative way by getting this. I bought this VXdiag vcx nano gm usb interface off Obd2tool.com. It comes with the software on a USB Drive that the seller provided. Worked out really good paid it a little more than a hundred dollars for it and you can do a lot more of the things in GM vehicles up to 2013 (Tech2win software). I’ll show you real quick how to get into the software so this is tech2win it’s going to ask you where you’re at. Select North America click on ok yes. I’m hooked up to my car now. This is an emulator that’s exactly what a tech2 would be if you had a handheld version of it. We will go to Diagnostics- year 2006 – Passenger car- Chevrolet This product line is the 4th digit on your VIN so mine is Y. Scroll down to Y, press OK The theft lock is in the body control module you have to go to Body scroll down until you see Then select Navigation systems – Module setup- Navigation radio- VIN Relearn Tech2win gonna ask you if you want to do it and you begin clearing it Like I said this is a perfect little tool that can do all other things that a tech2win can do, purge out a solenoid or bleed the brakes on some GM vehicles. How to solve the problem in the picture below when using xtool pad2? Look at the picture below, it is “Débloquer la clé” (meaning “Unlock the key”),
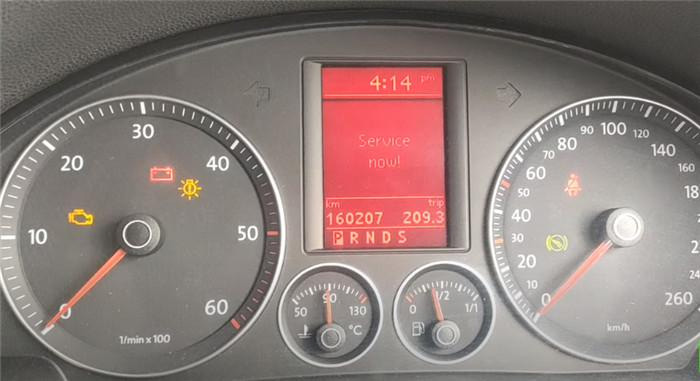
Unlocking a key means: if you want to program a key in a Fiat, for example, you have to generate a dealer key, right? If you do that, that key will be blocked for that car. If you cannot program it in this car, it will not be passed on to any other car. So this option serves to unlock the key in order to become a virgin again, and you can generate it by turning a different dealer key on a different car. Reset service light on Volkswagen Jetta car using XTOOL A80 Pro (H6 Pro) with VCI box.
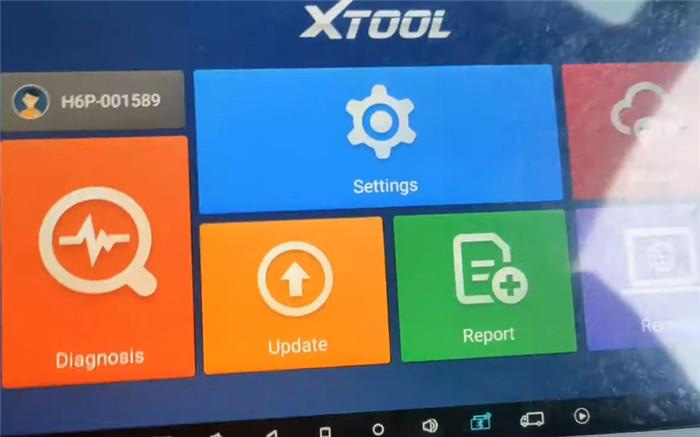
Main steps: The device used is XTOOL H6 Pro. But the guide also applied to A80 Pro. Connect XTOOL VCI to the vehicle via main cable, and connect to XTOOL tablet via Bluetooth Go to the “Diagnosis” function
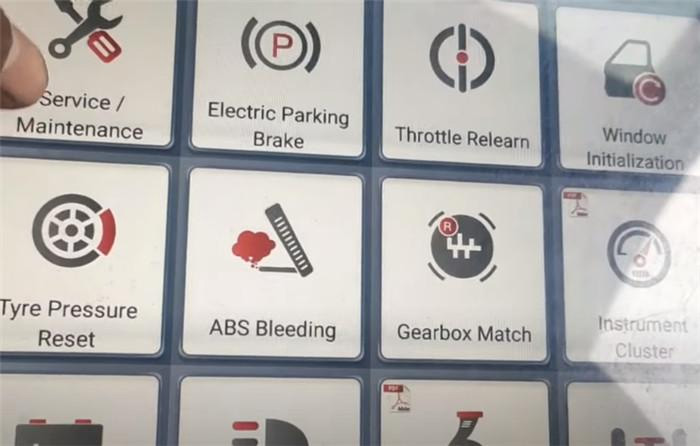
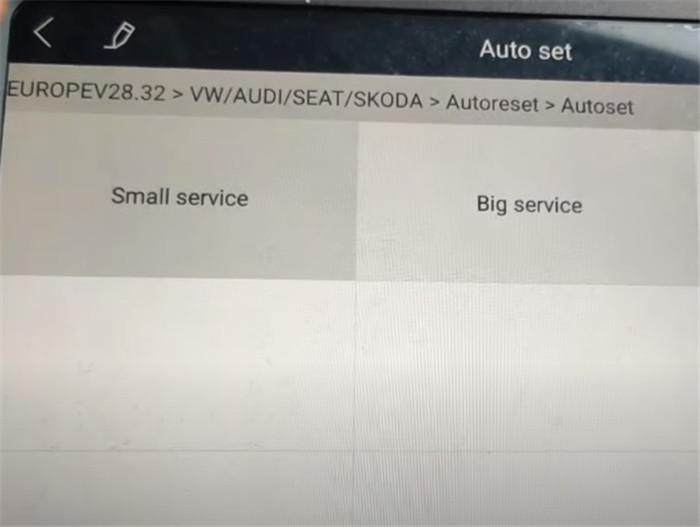
Select Service/Maintenance-> EUROPE-> VW/AUDI/SEAT/SKODA-> Autoreset-> Autoset There are two options that can be selected: Small service and Big service
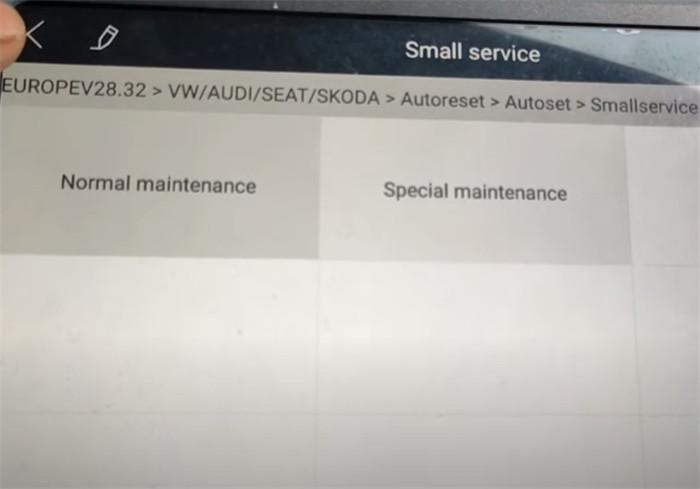
Here select a small service to reset Then you also can see two maintenance modes: Normal maintenance and Special maintenance.
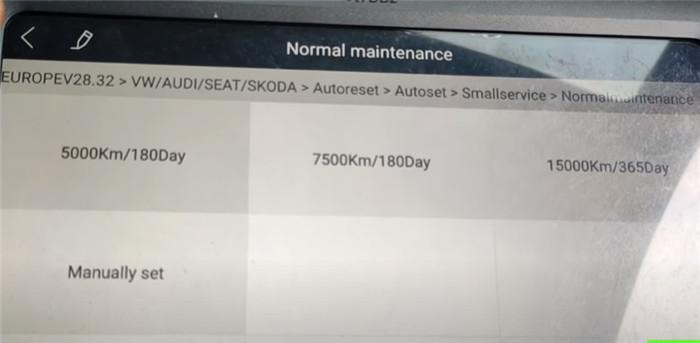
Here select Normal maintenance to do There are four options that can be performed as follows: 5000Km/180Day
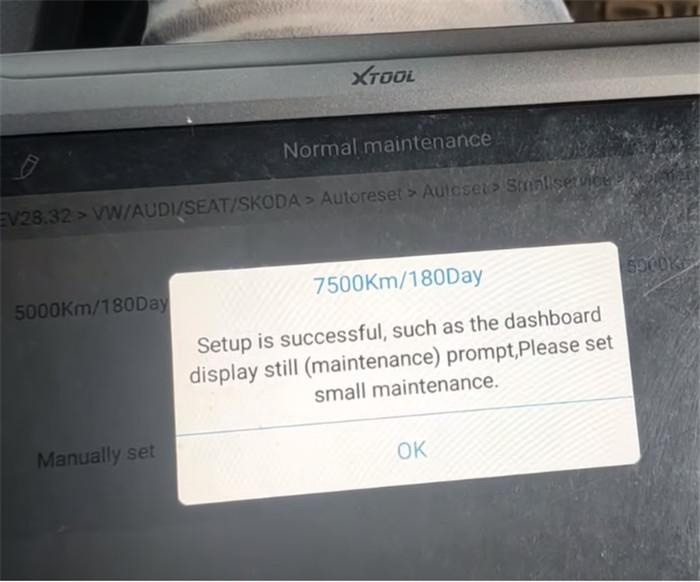
Just choose the one you desire to do, here we select 7500Km/180Day to try Setup is successful.
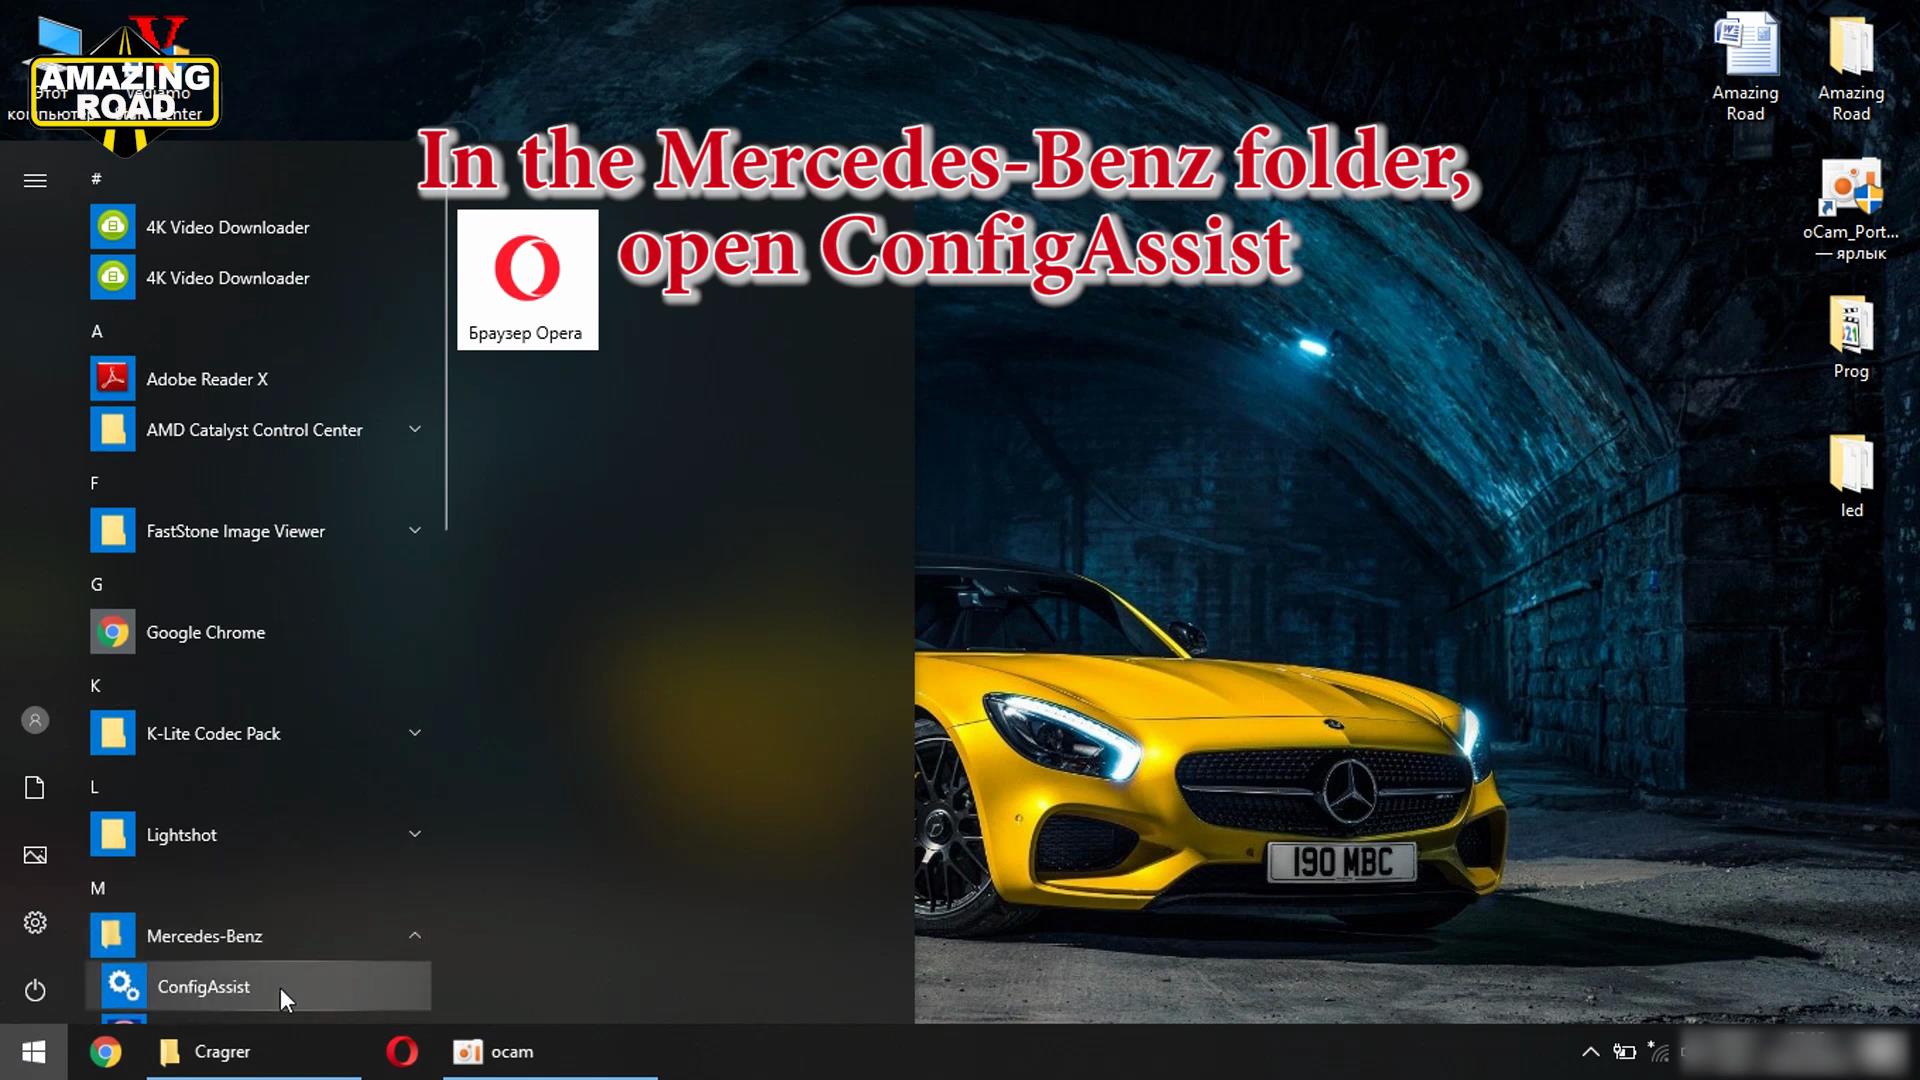
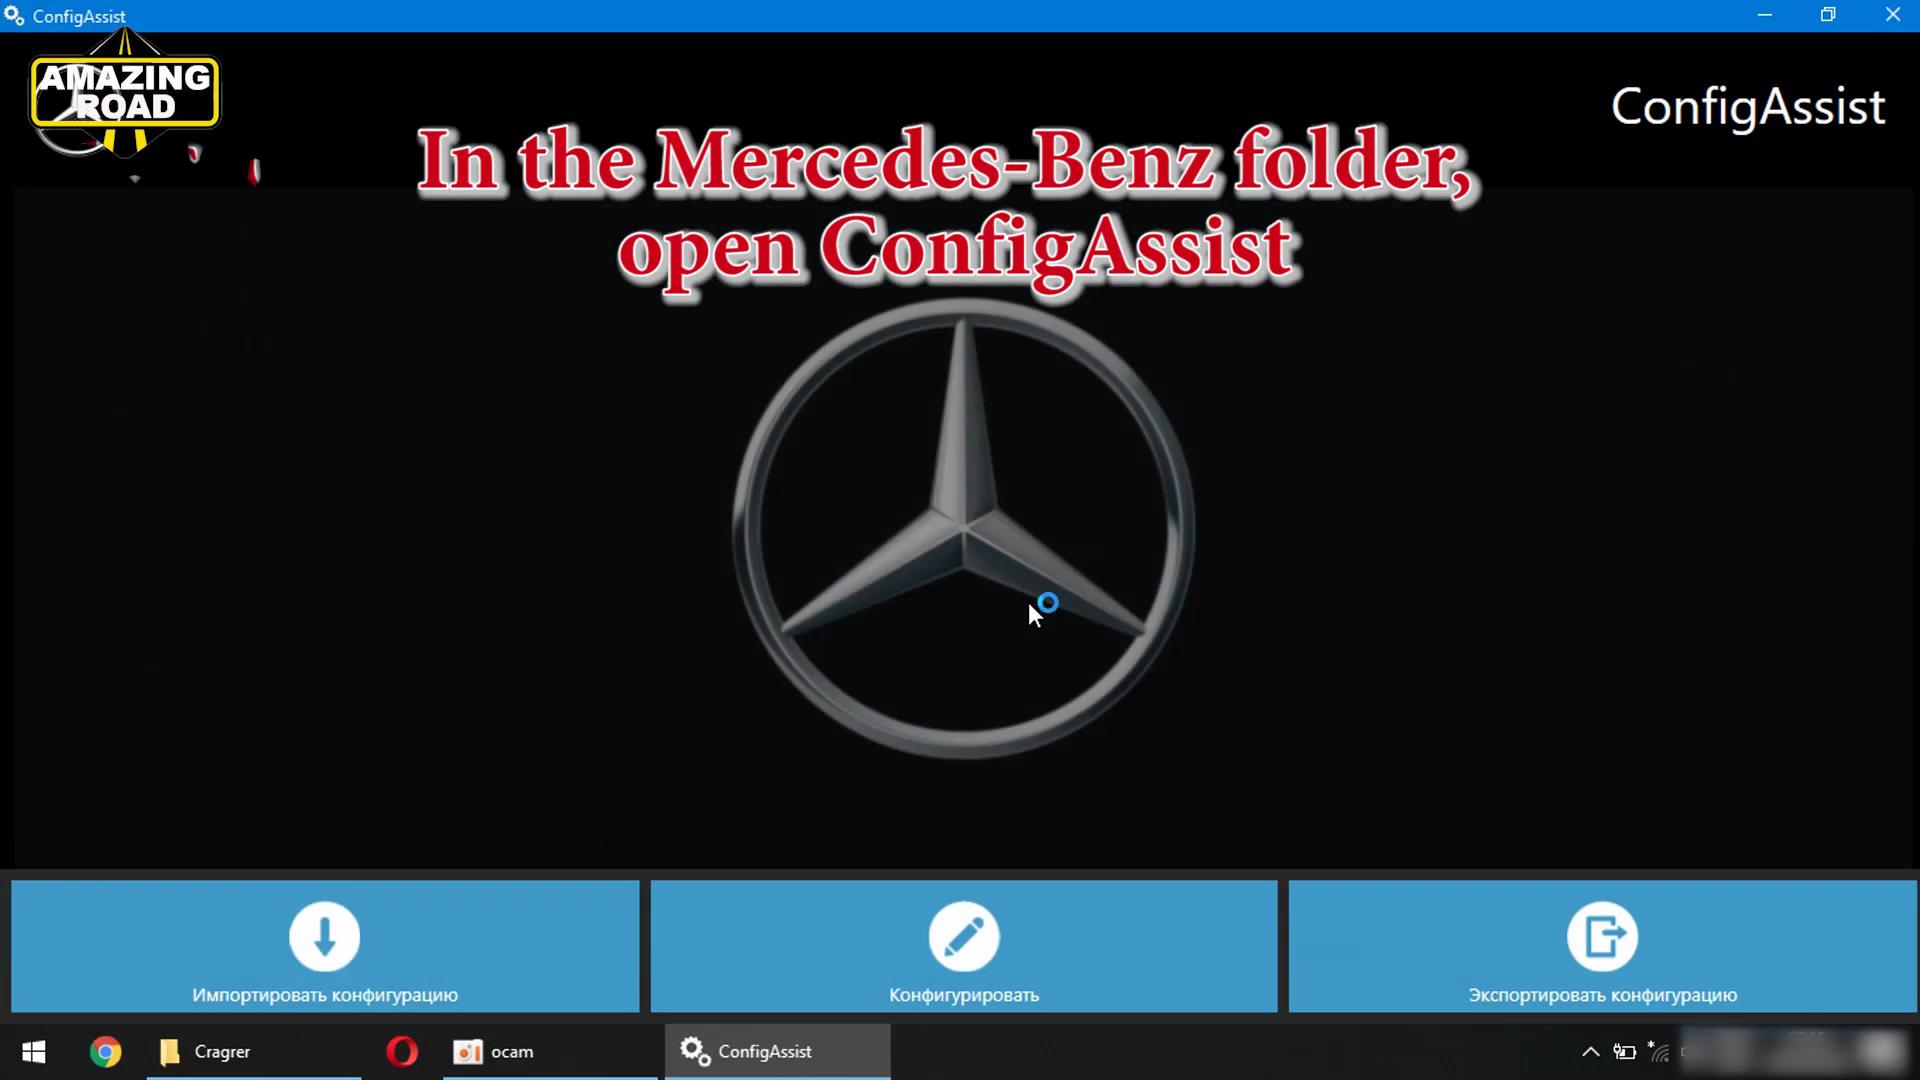
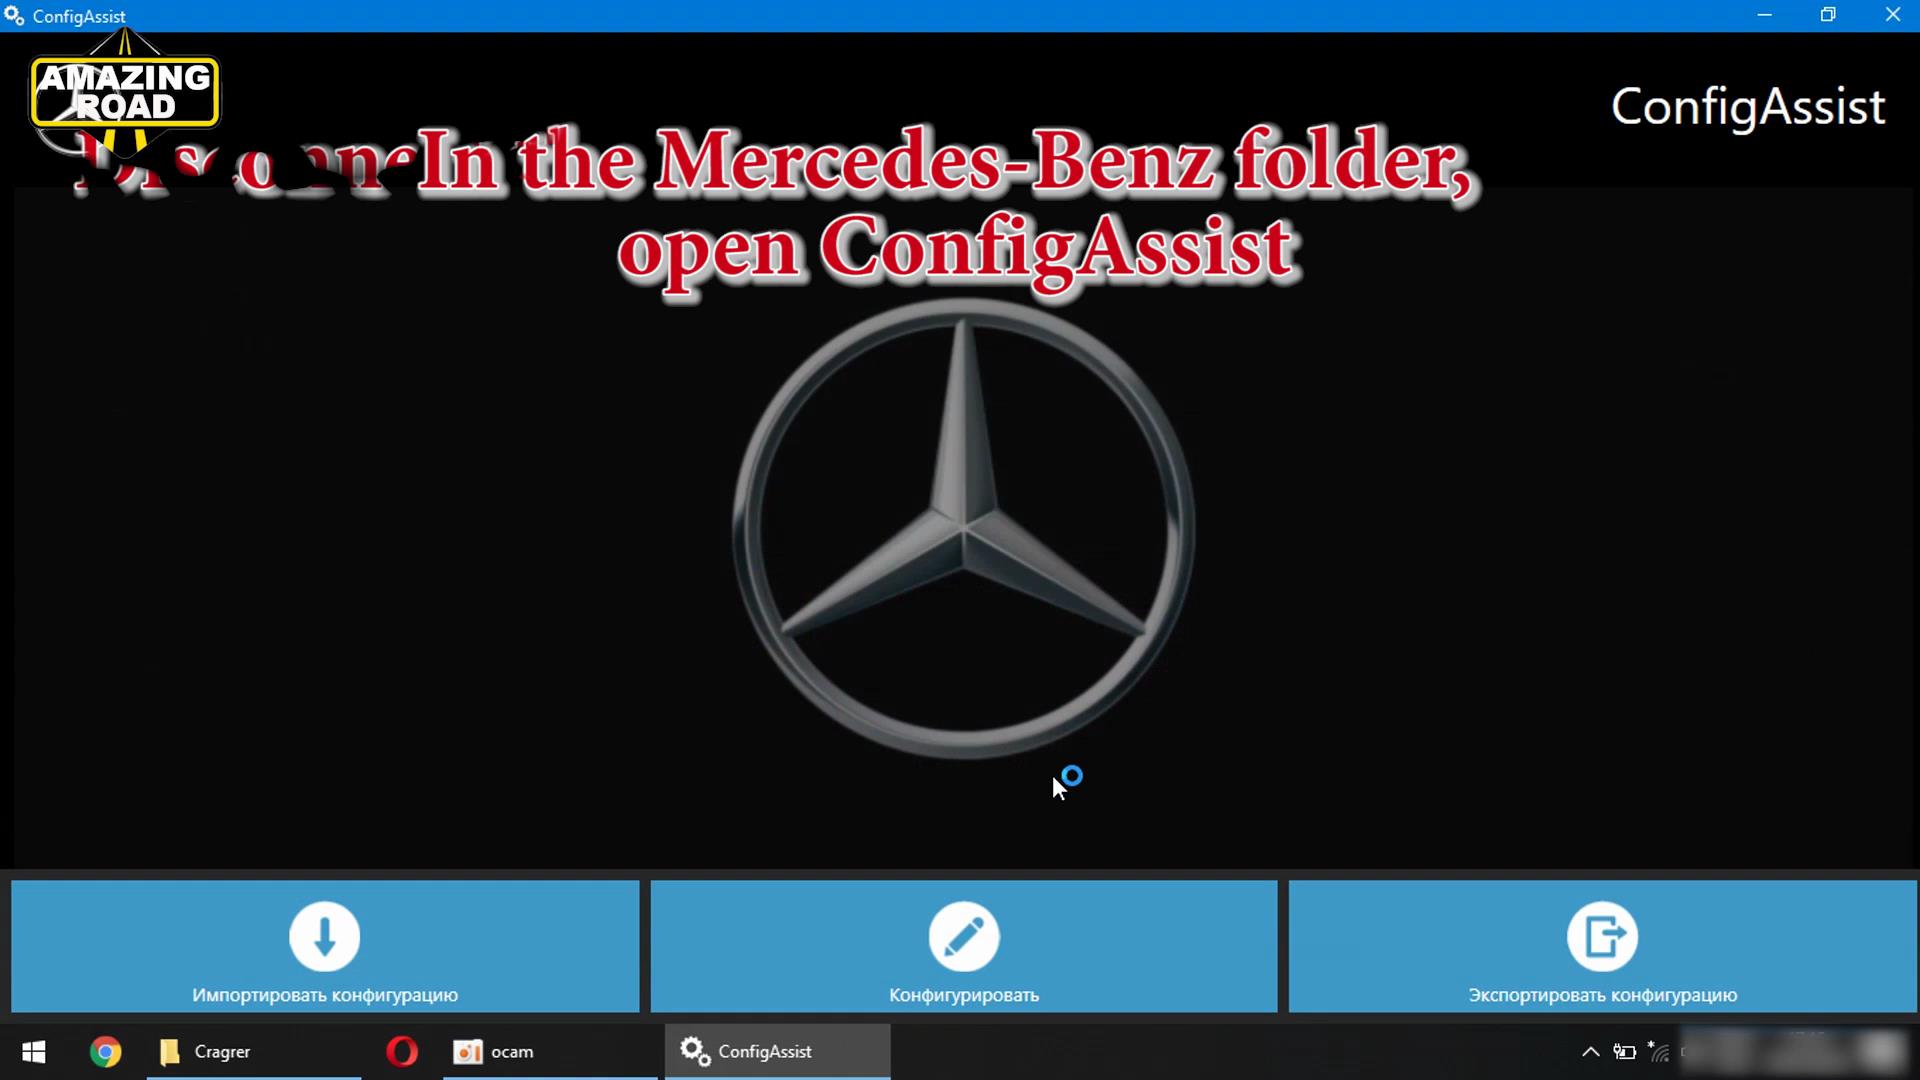
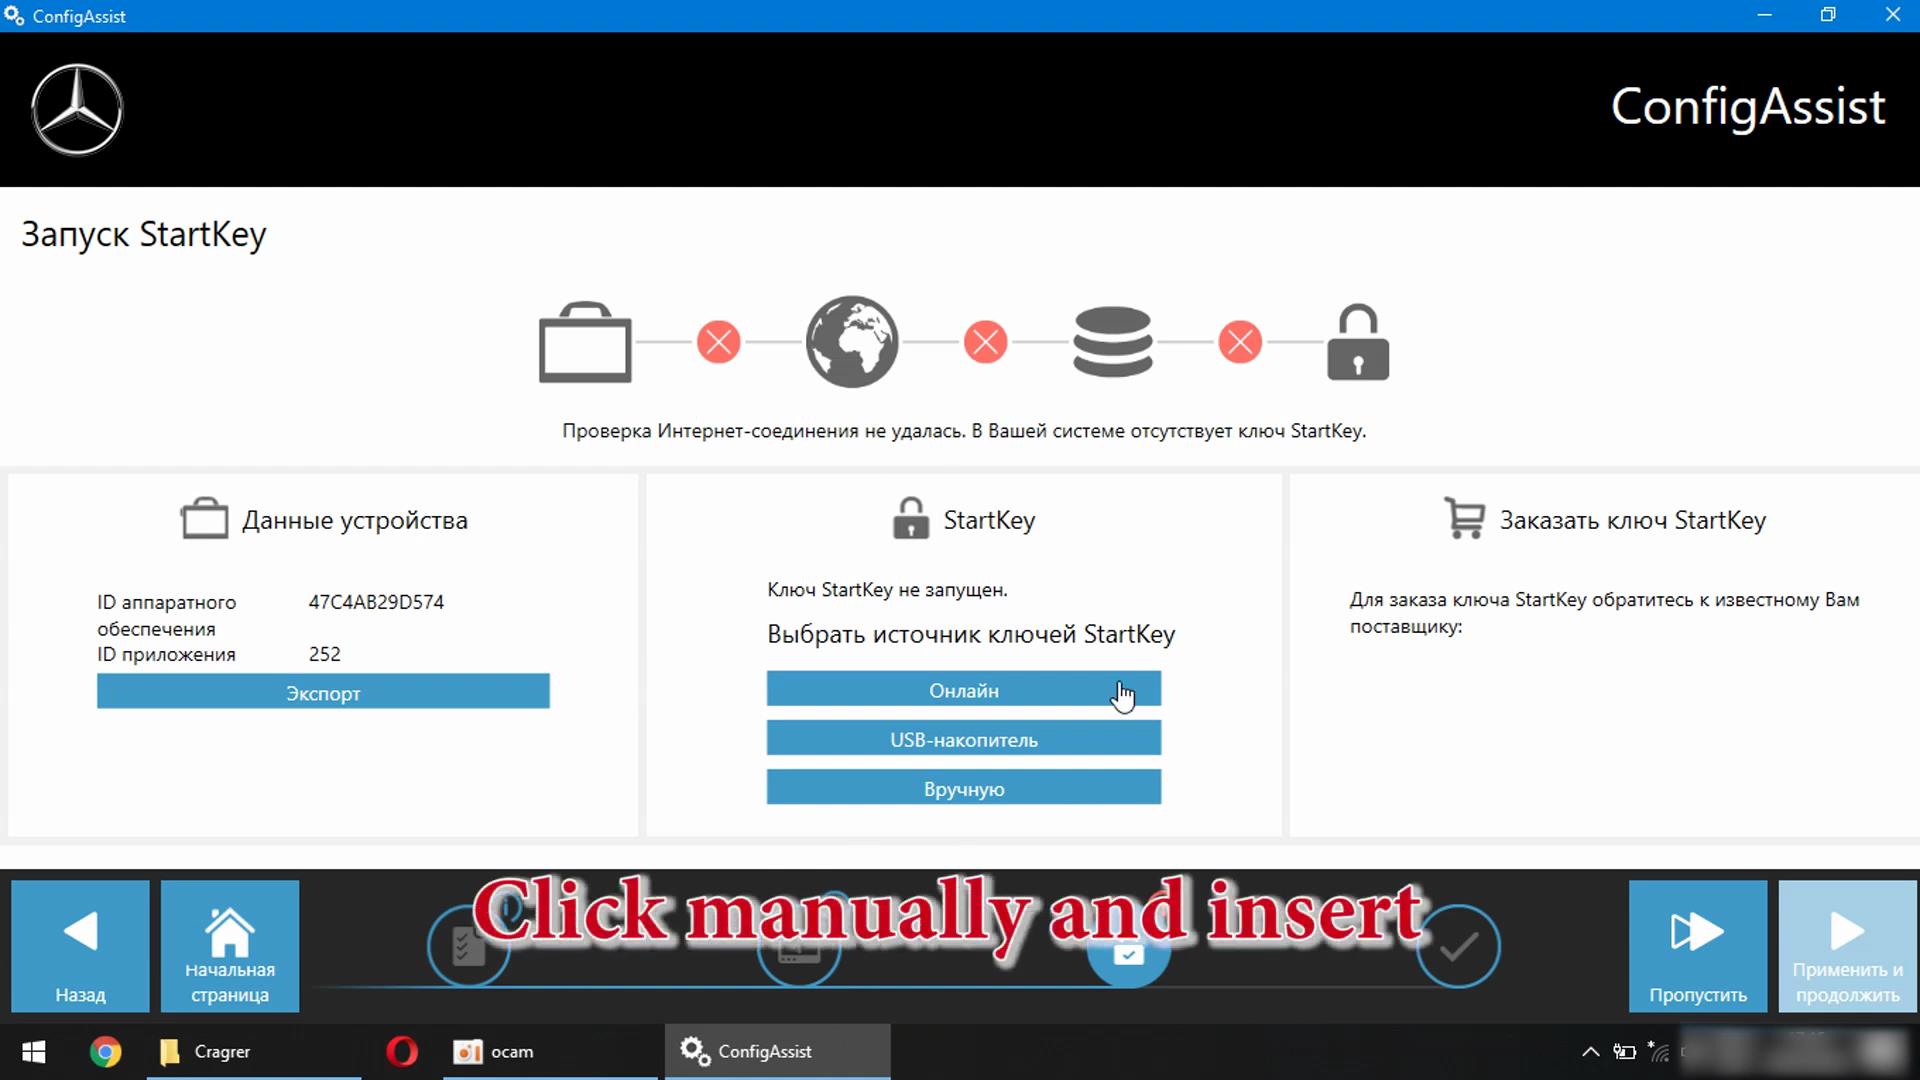
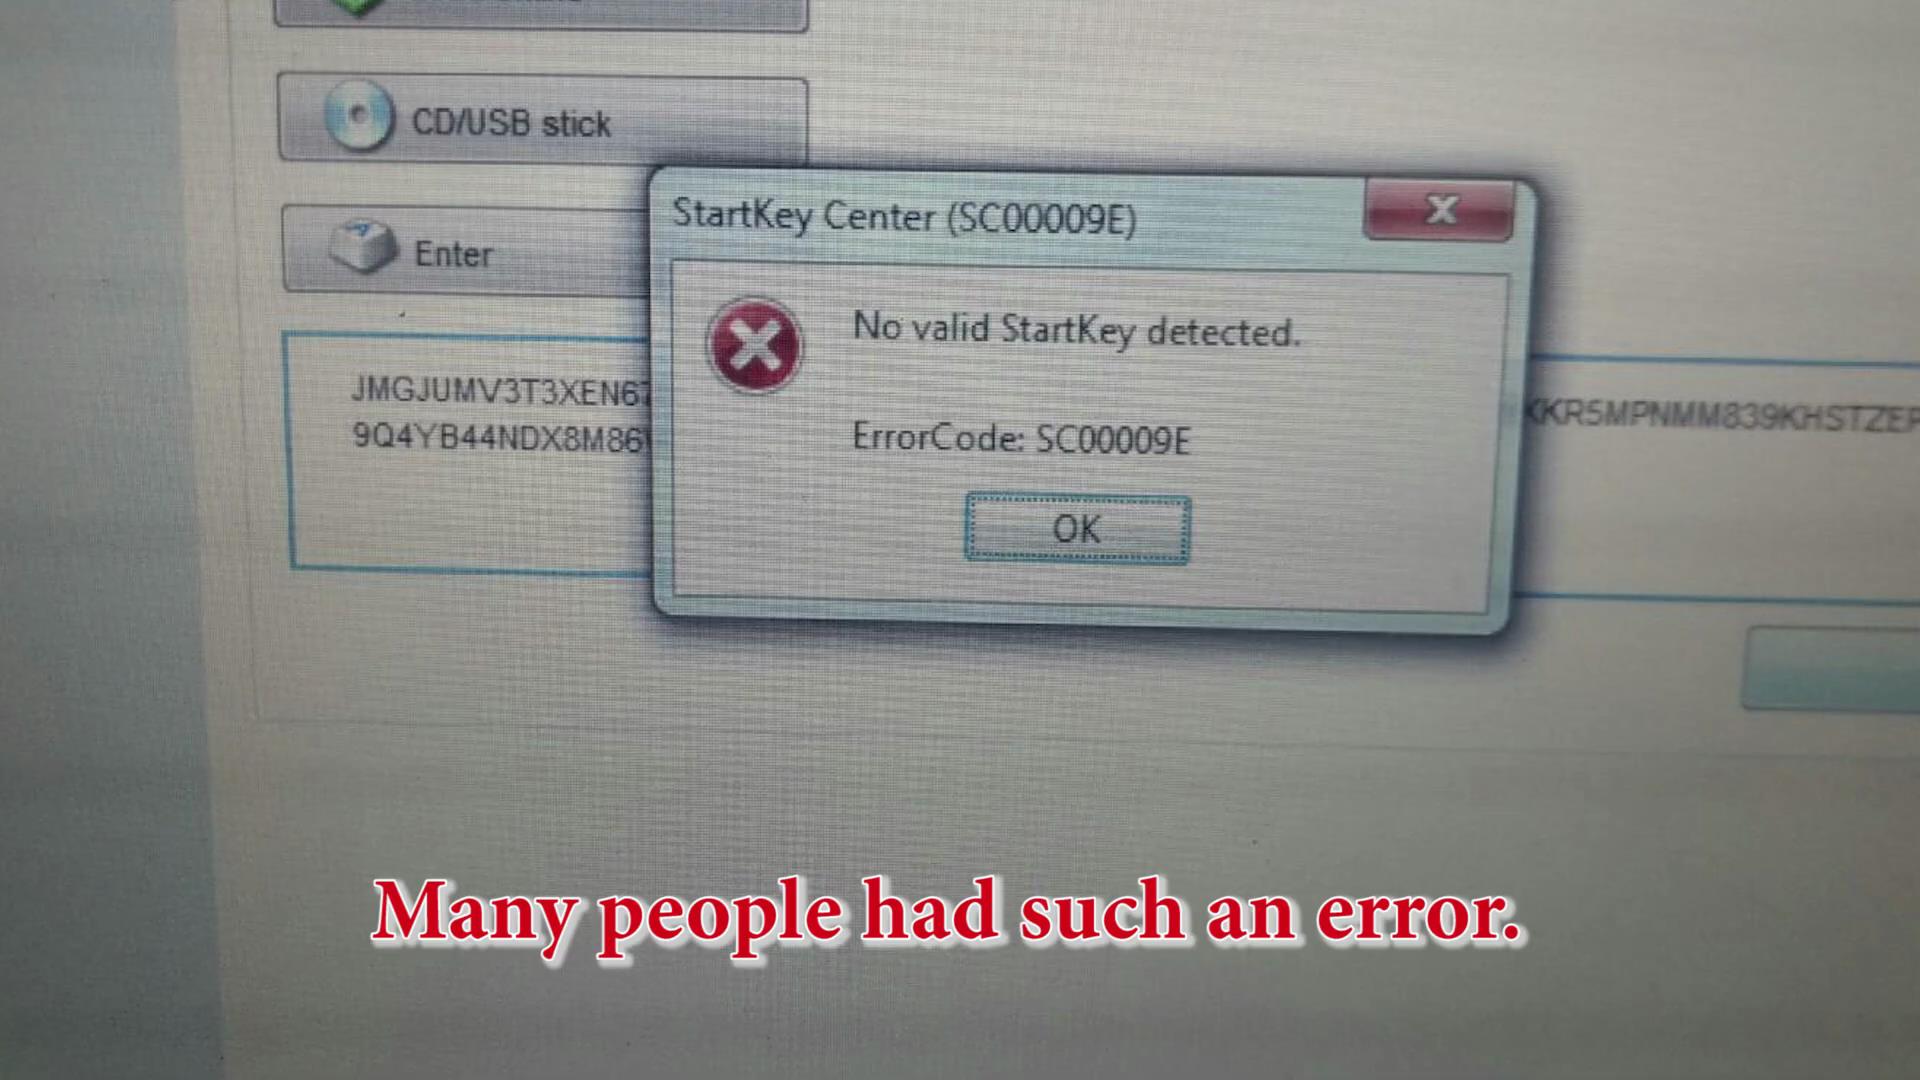
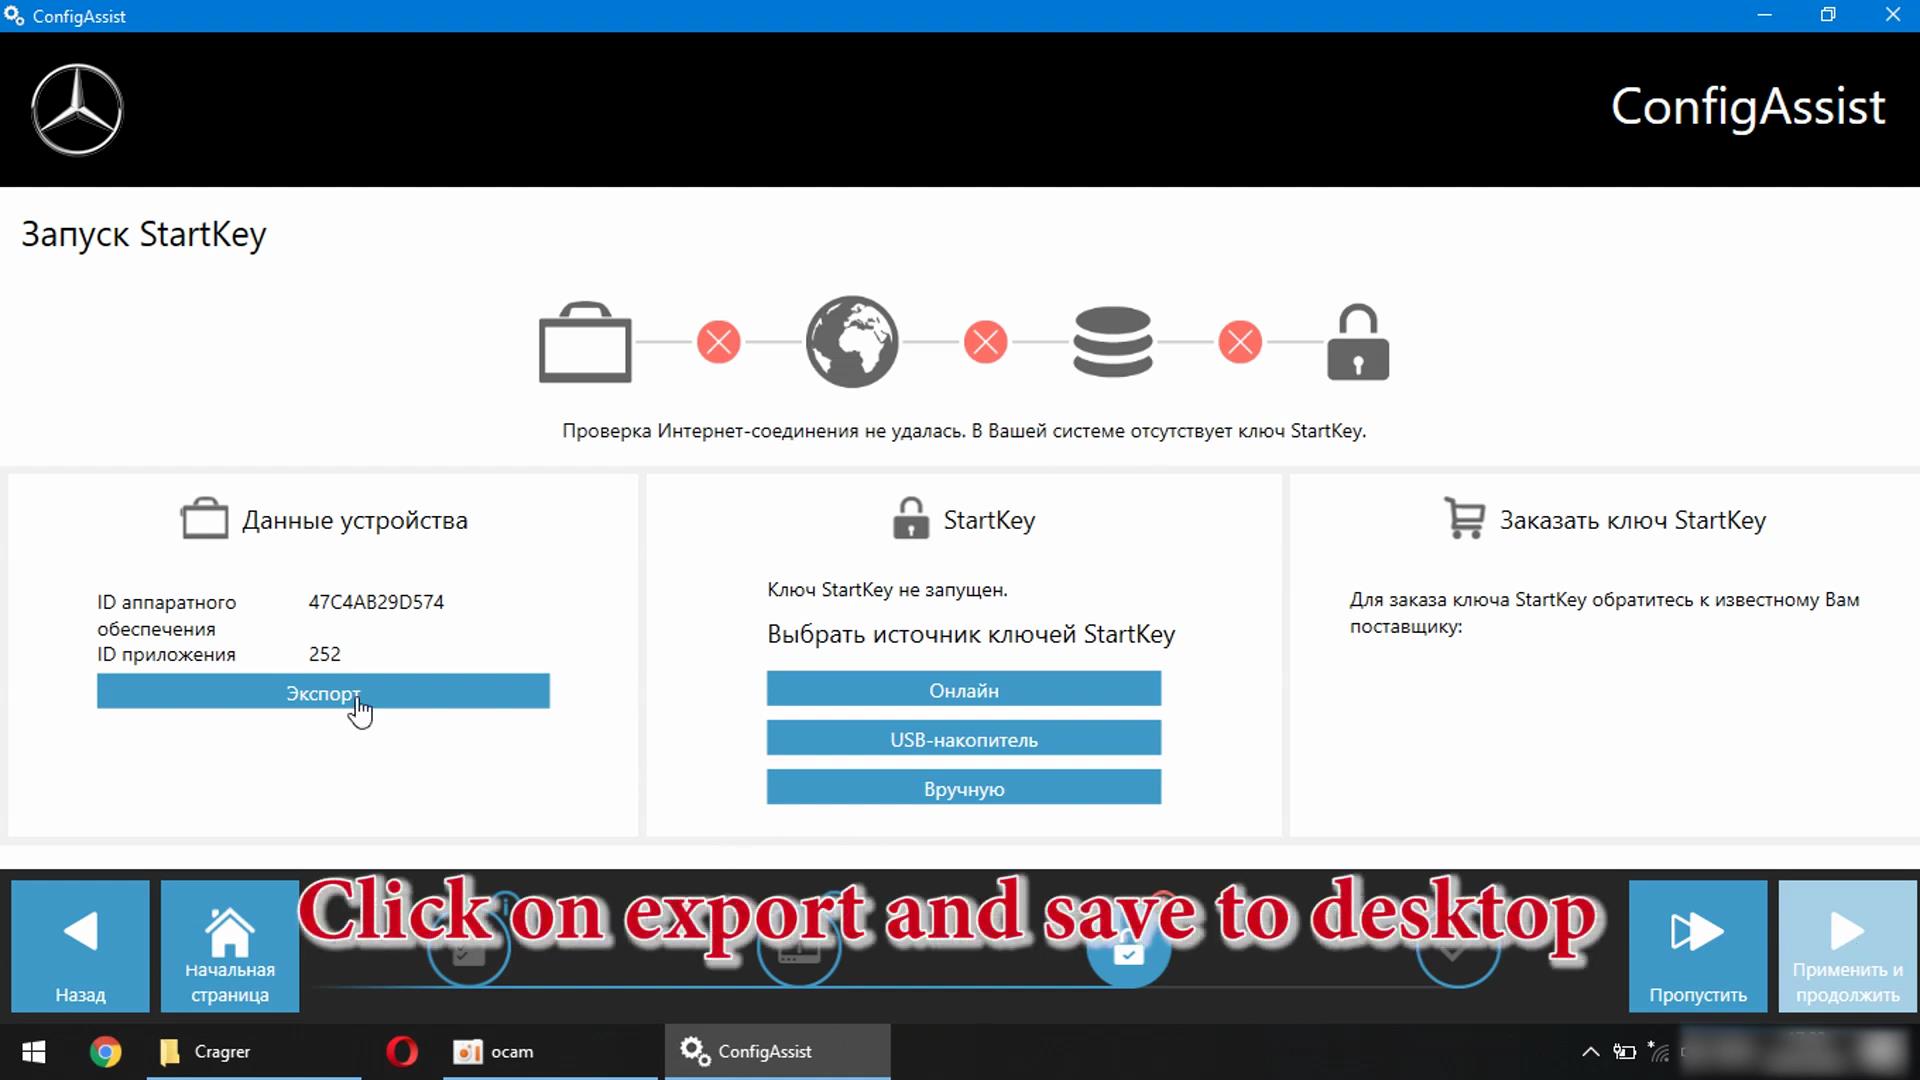
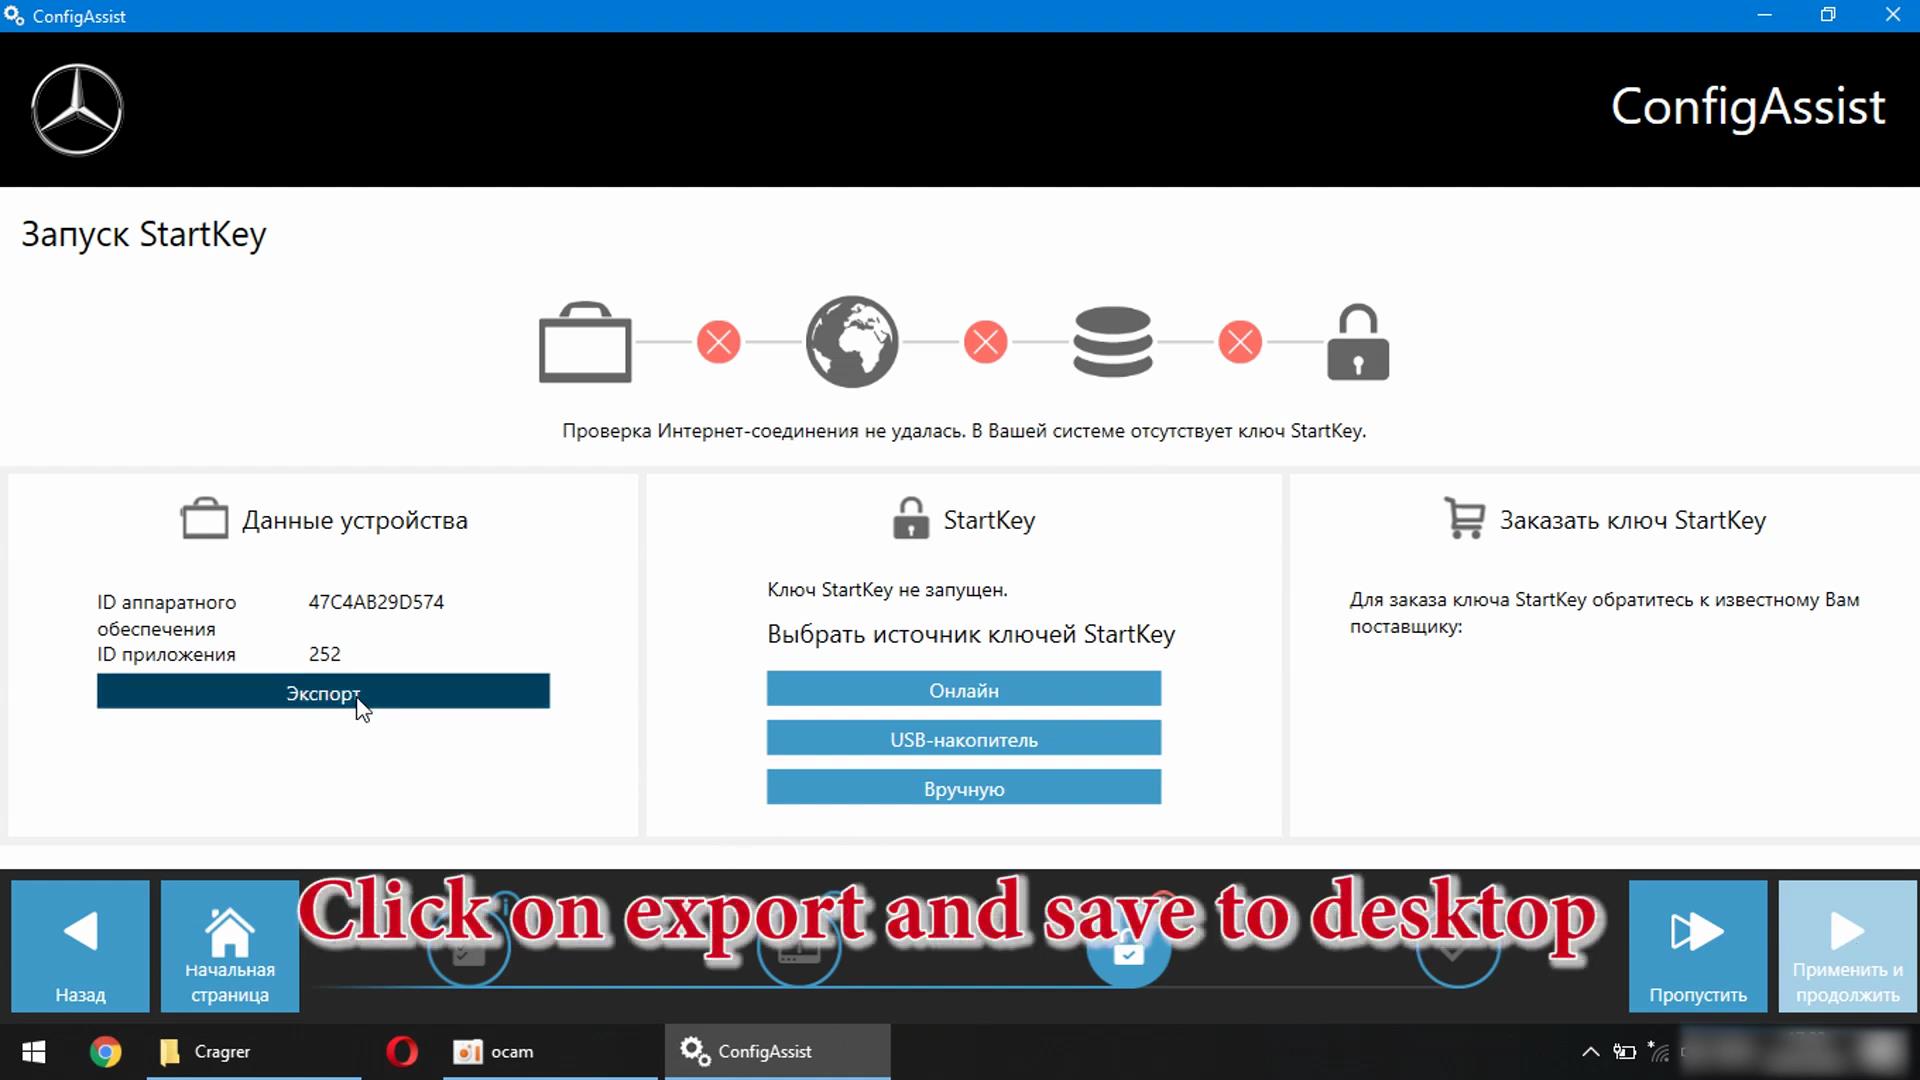
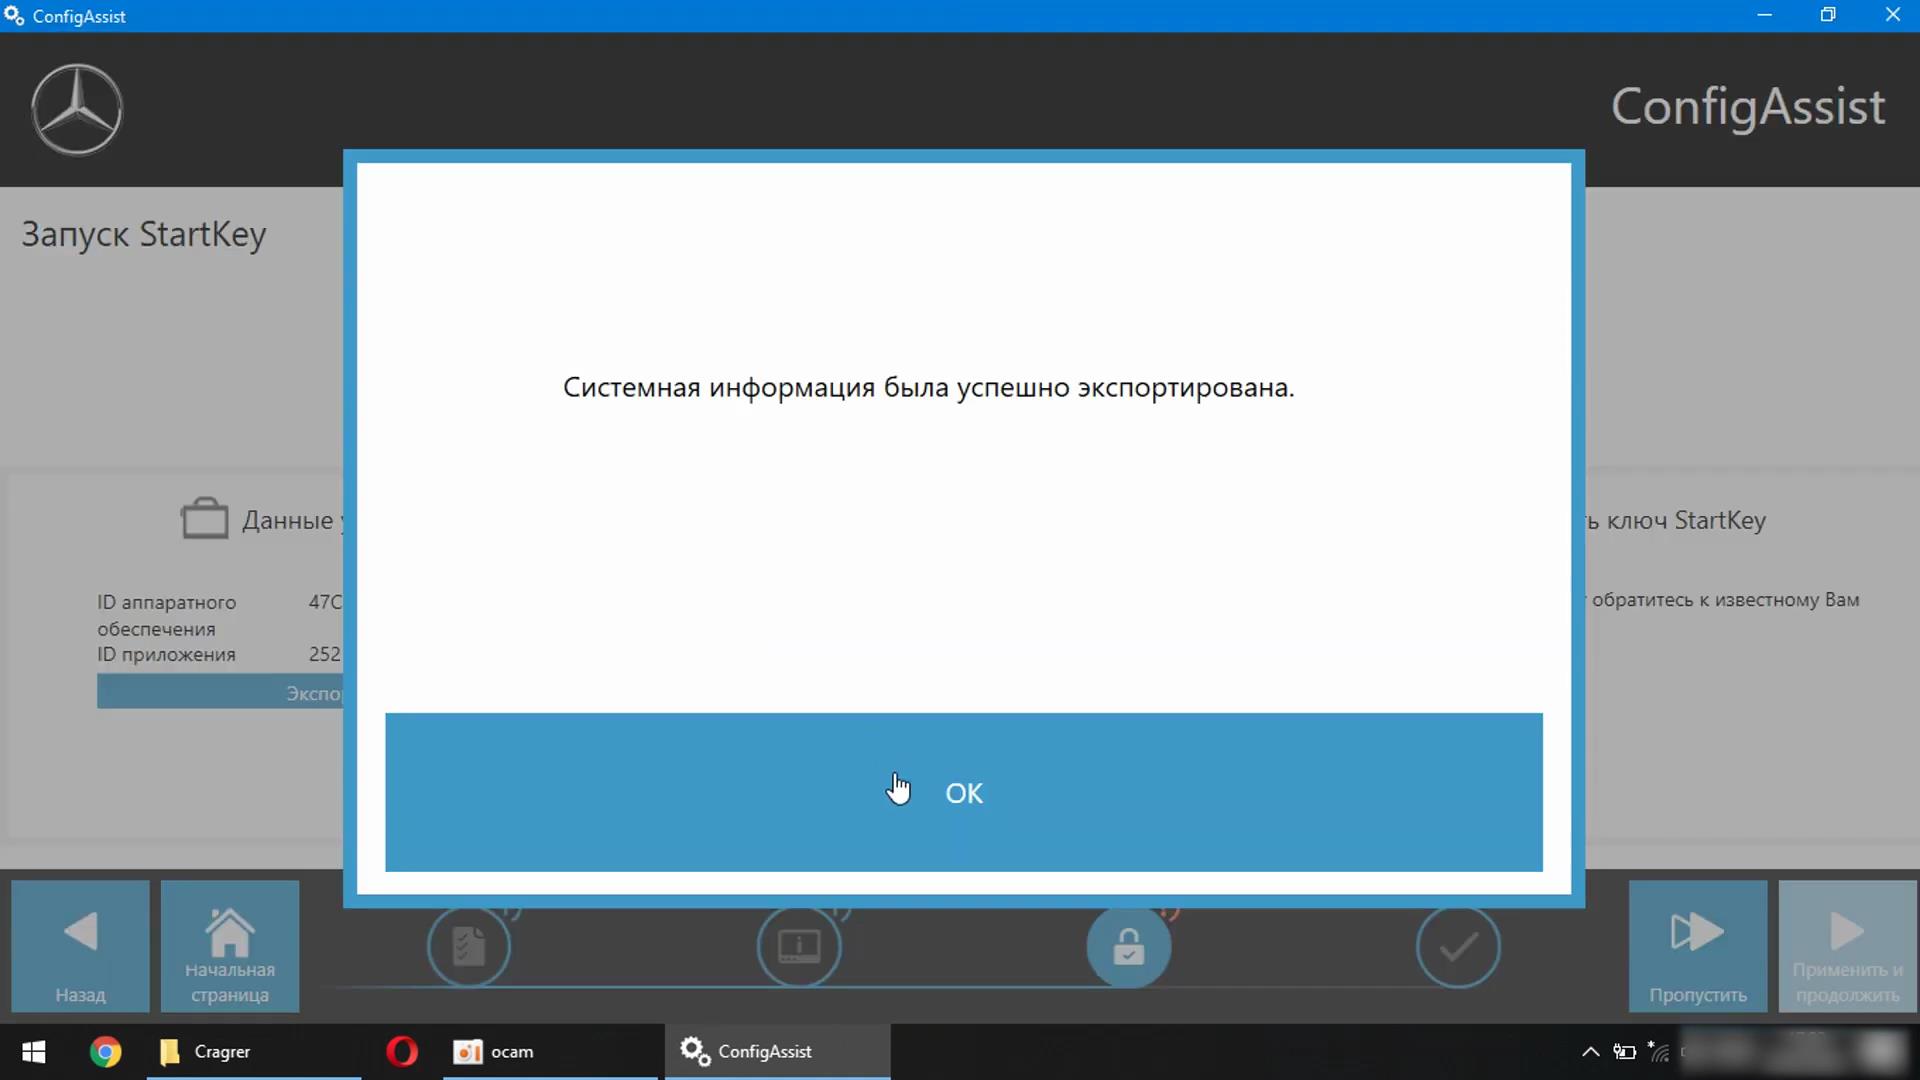
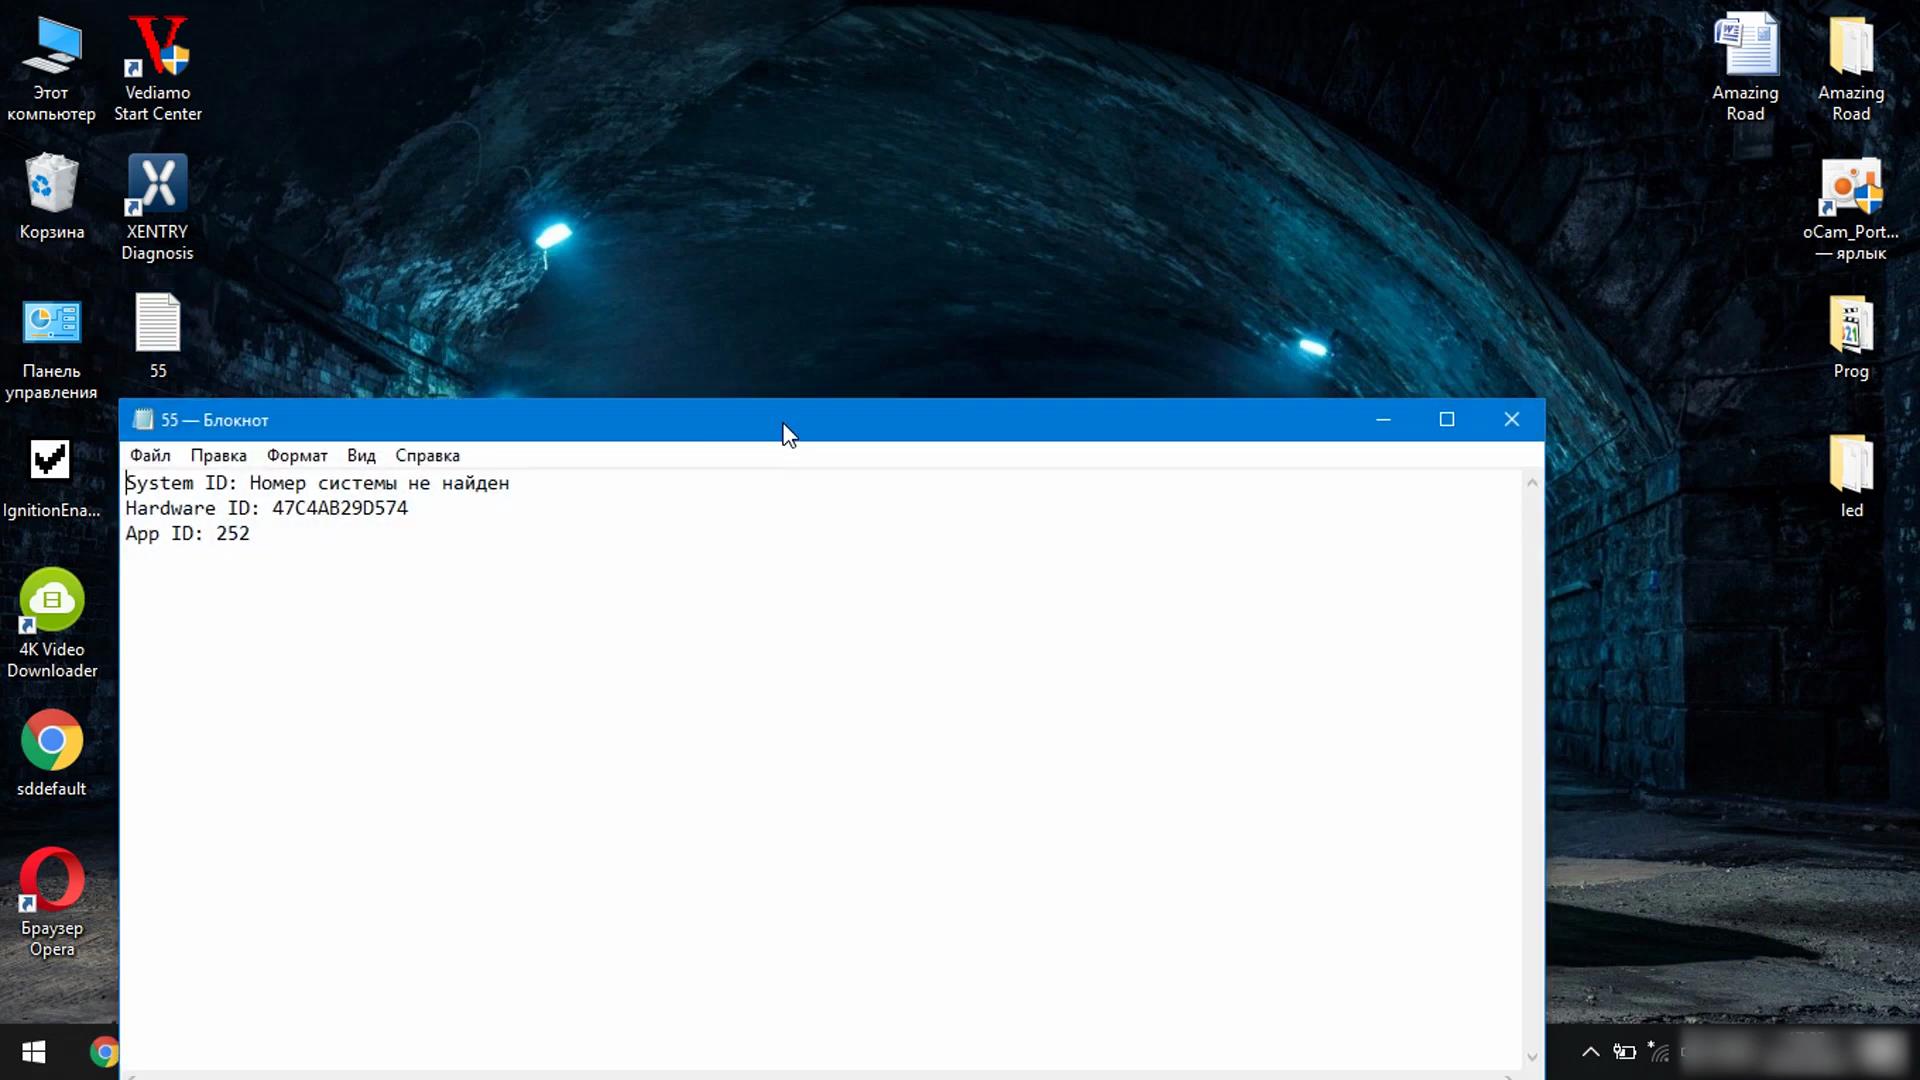
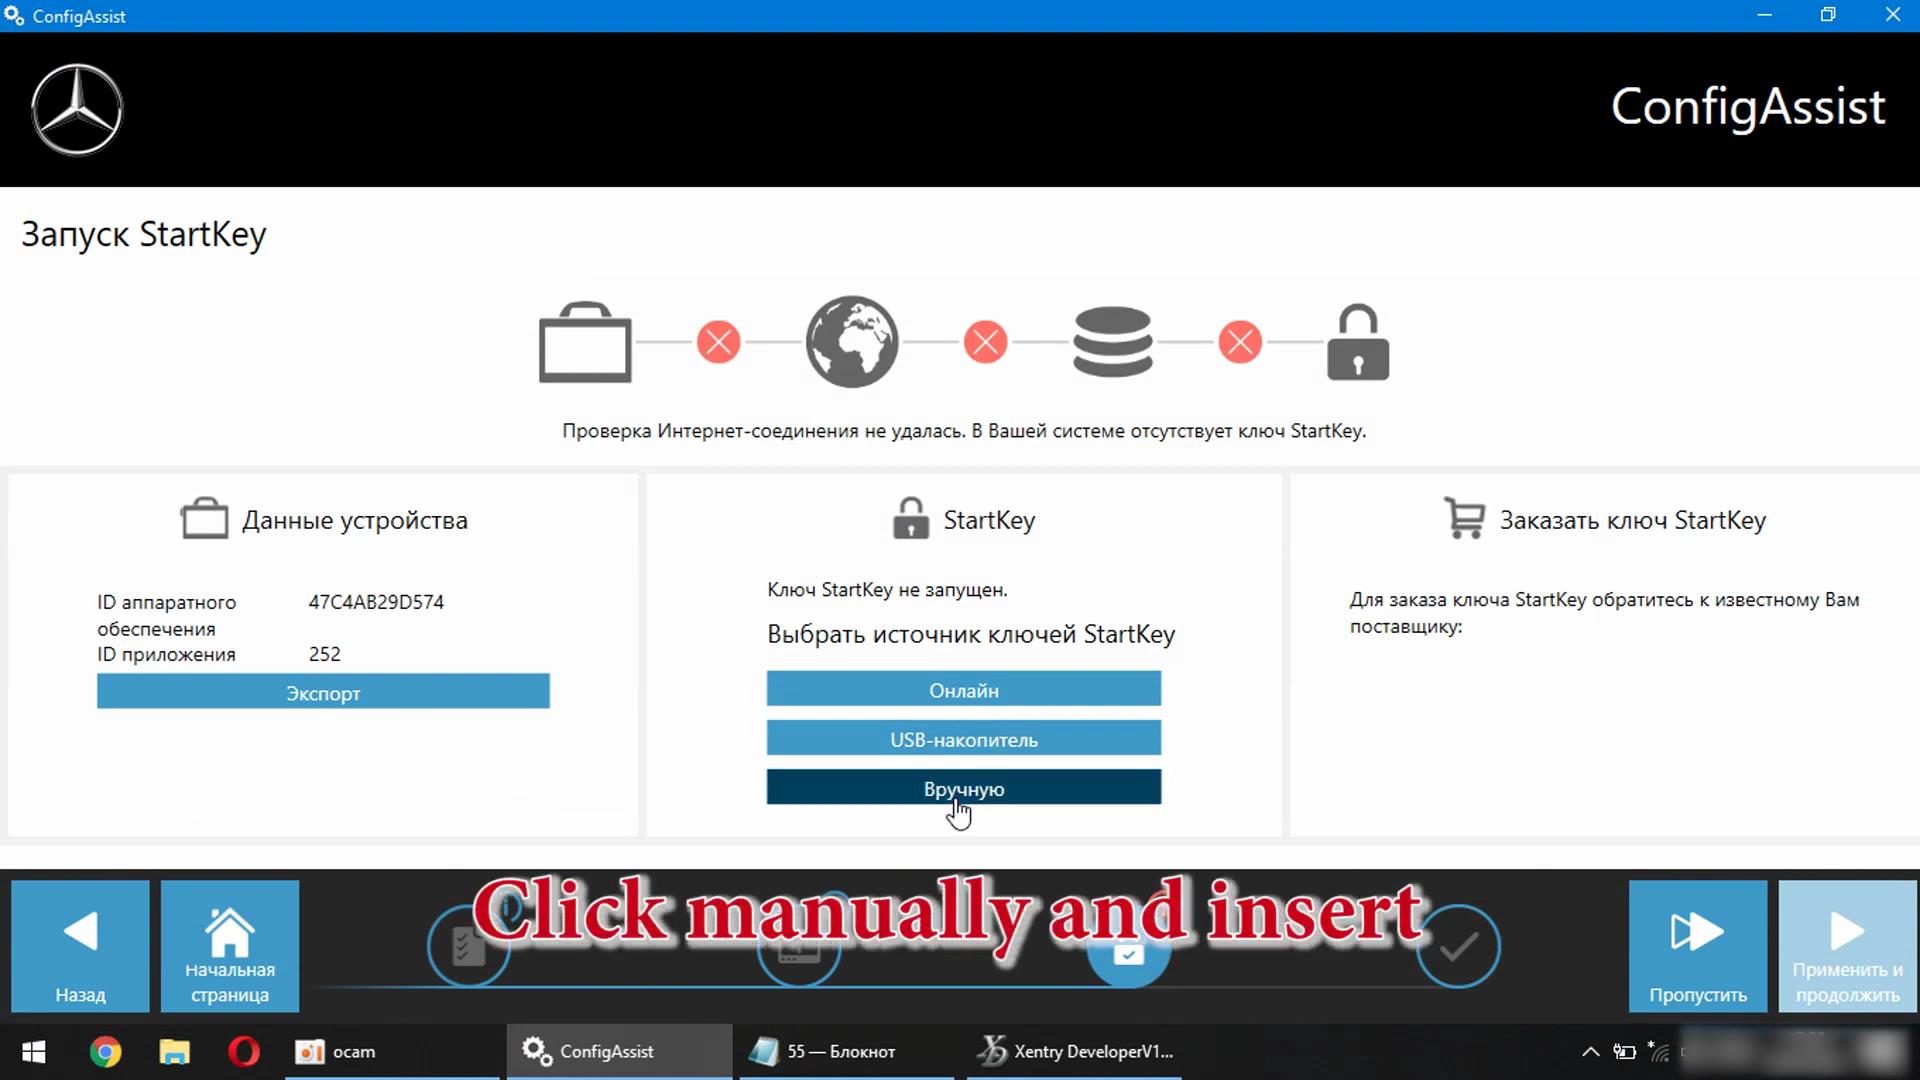
Note: If the dashboard display still prompts maintenance (service), please set small maintenance. One consumer wrote that Xentry Does not accept the key.(Startkey is invaild) In the Mercedes-Benz folder, open ConfigAssist
Disconnect the internect and press configuration
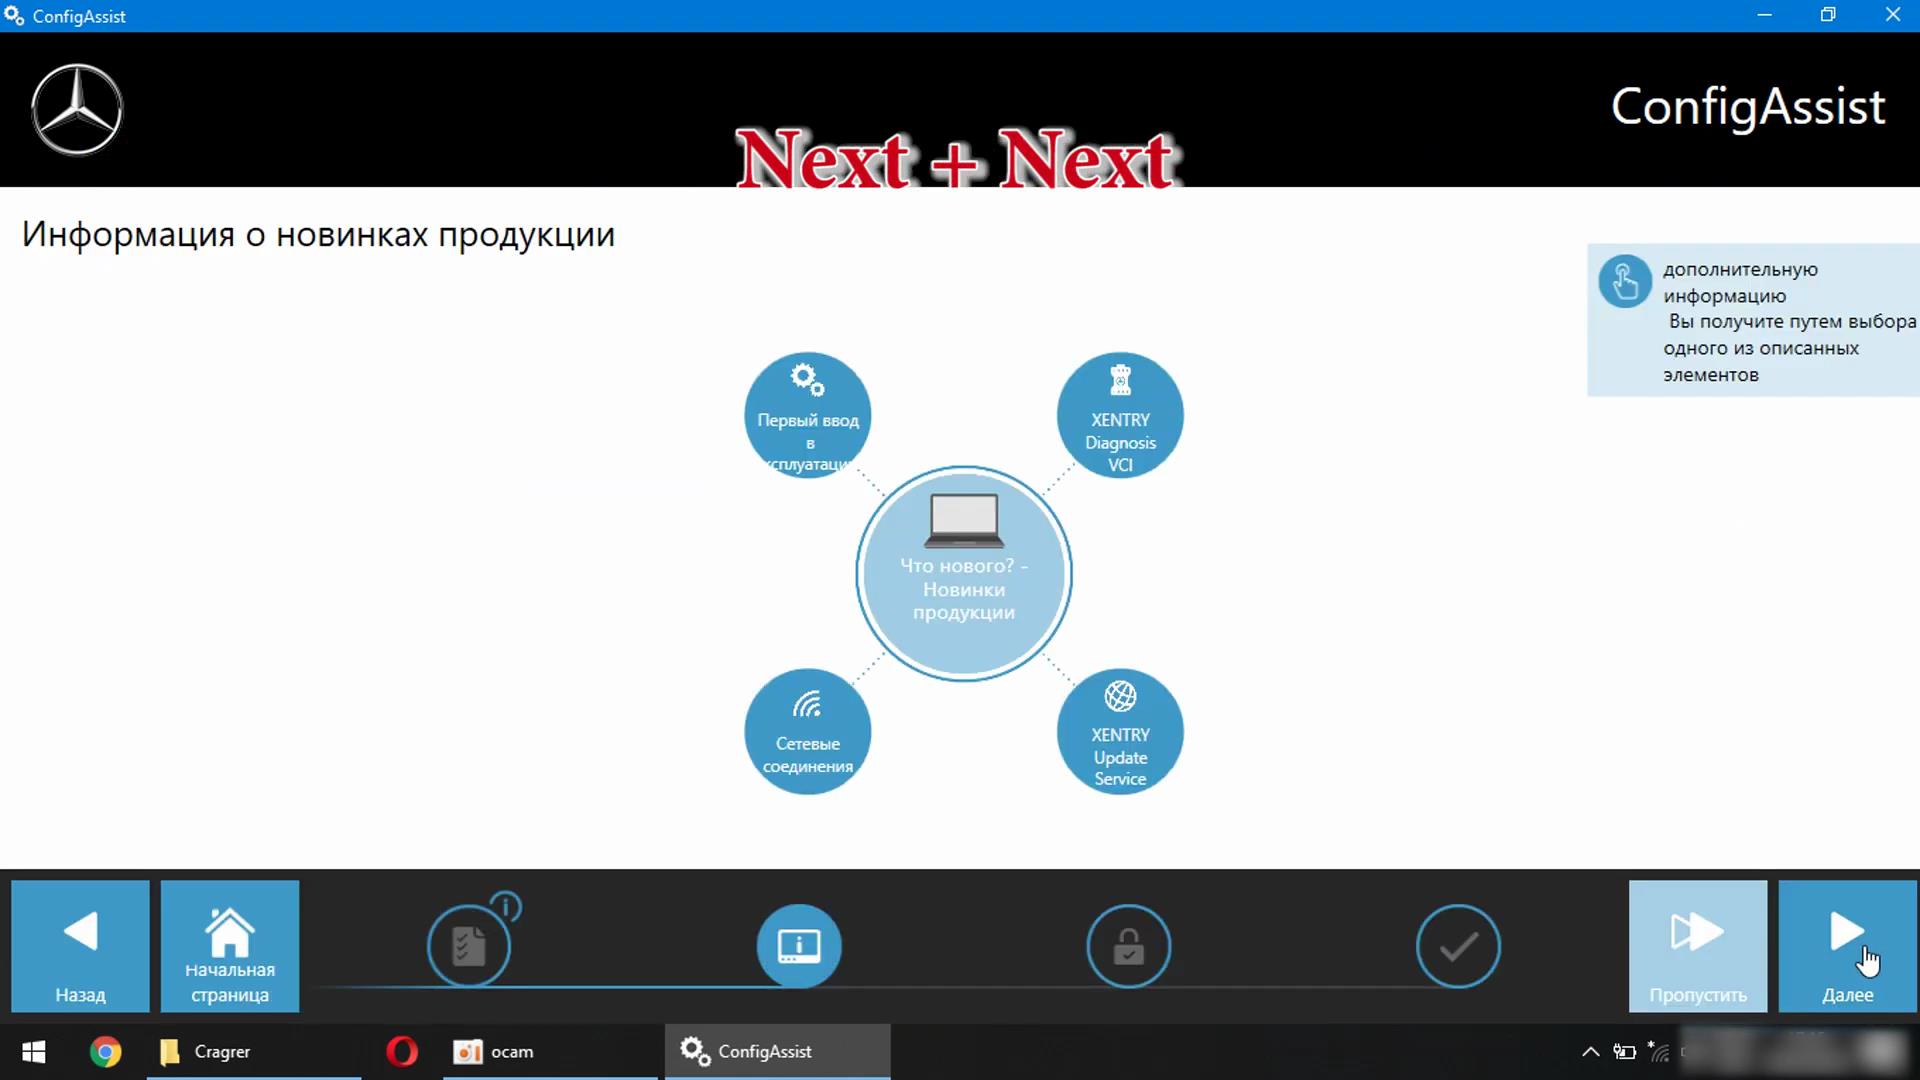
Next+Next
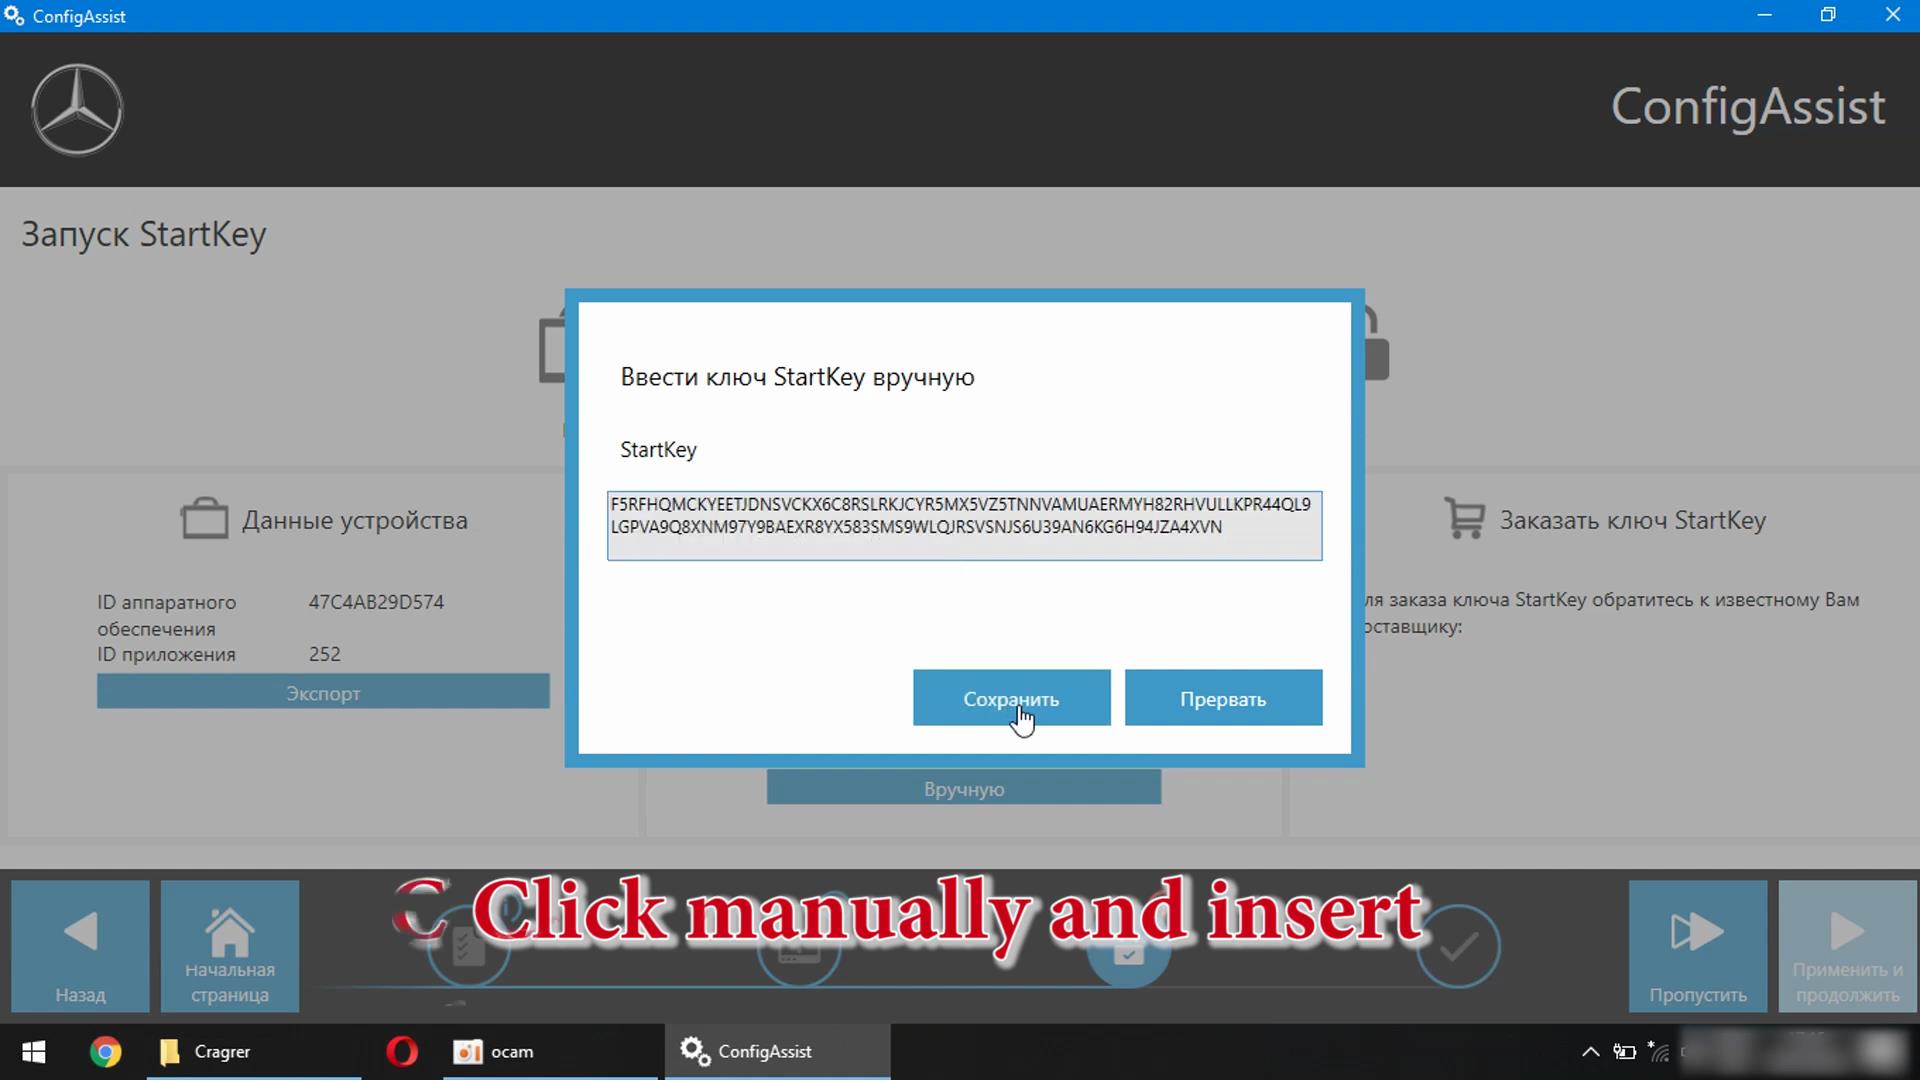
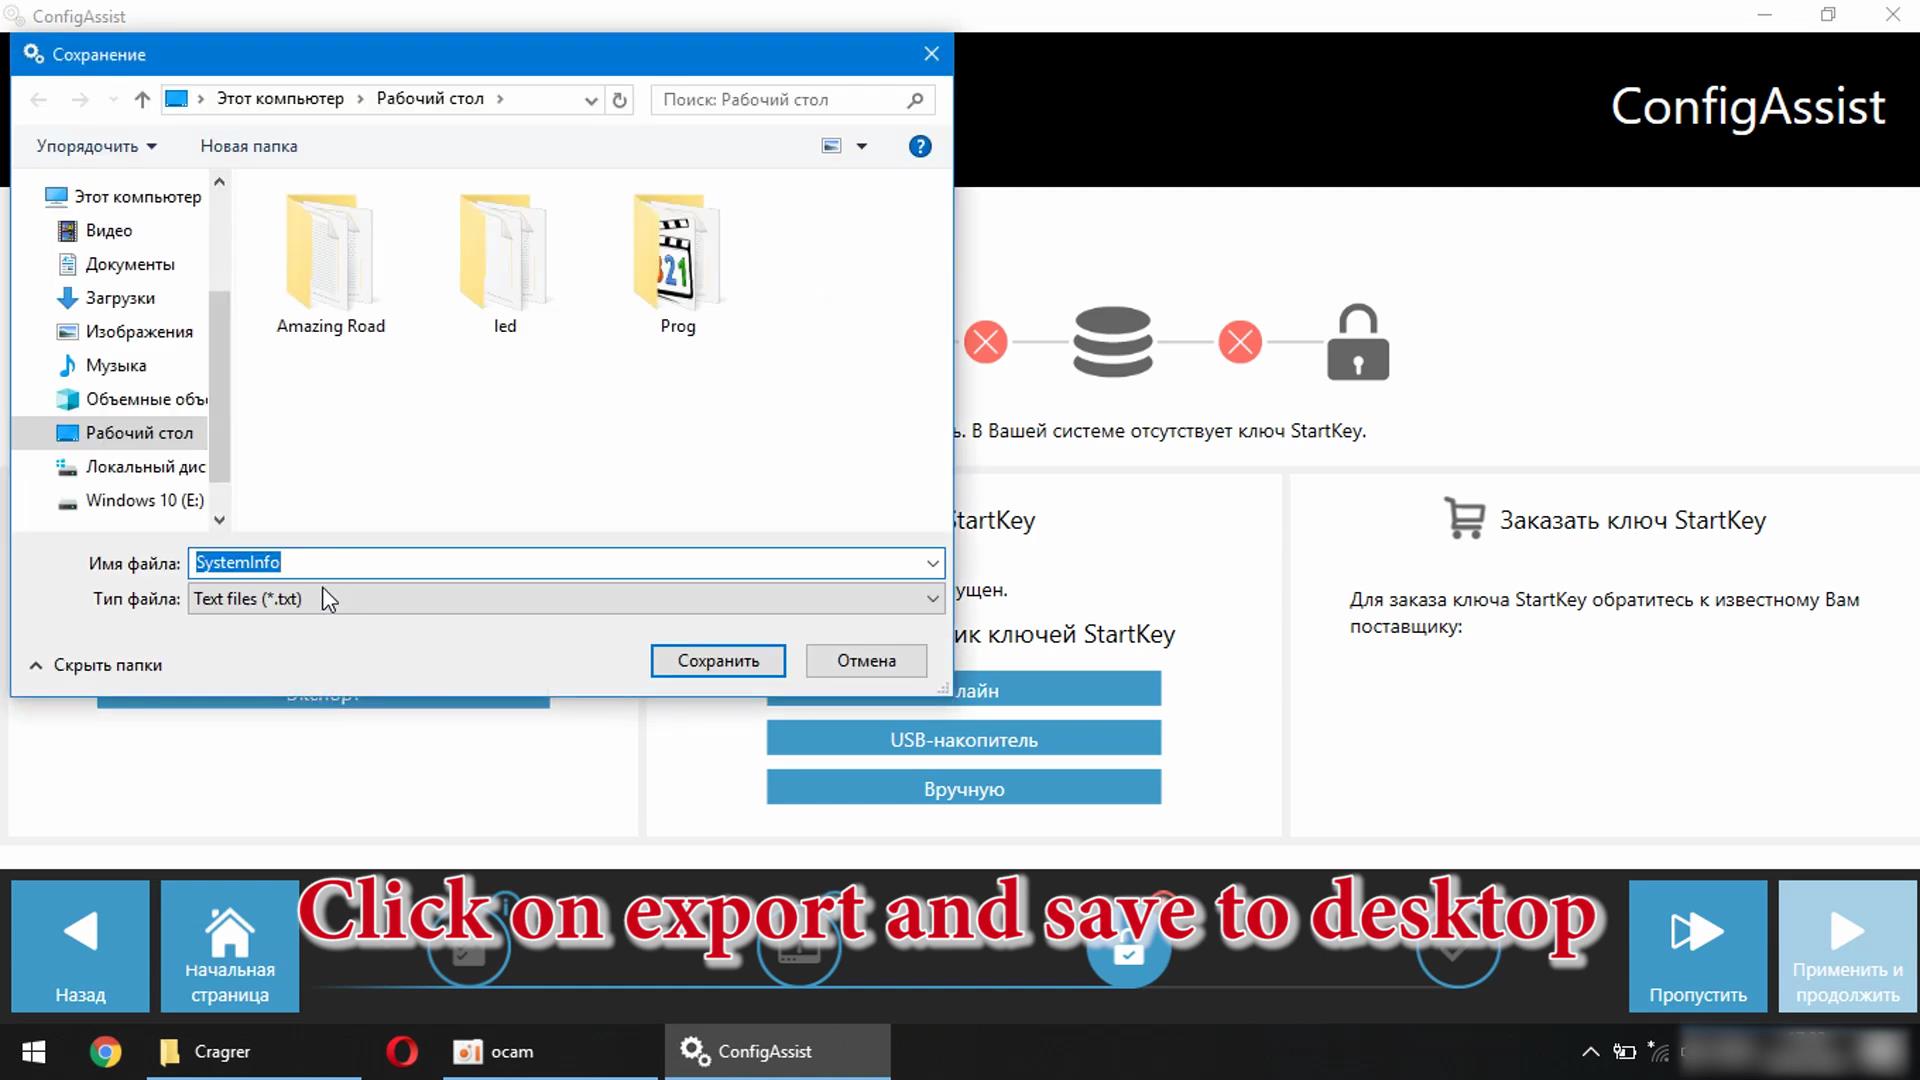
Click Mannually and insert
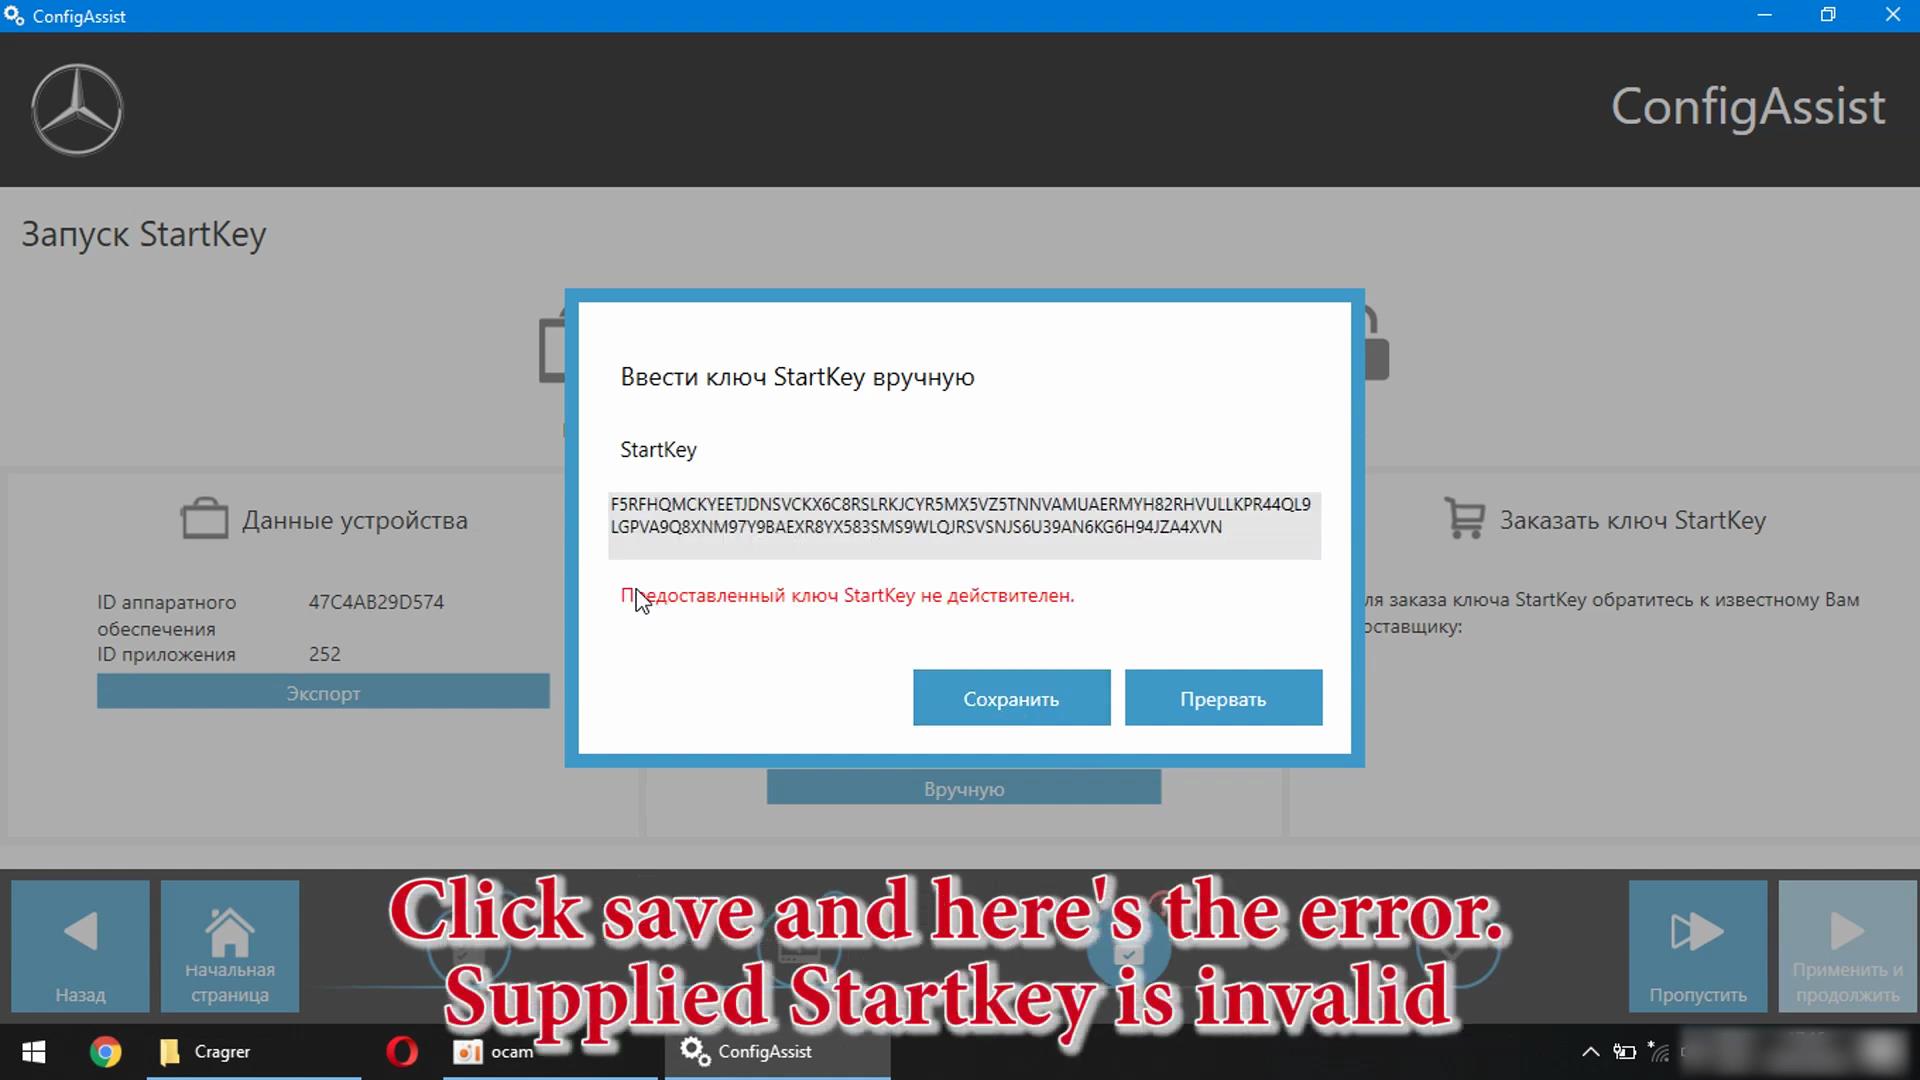
Click Save and here’s the error, Supplied Startkey is invalid
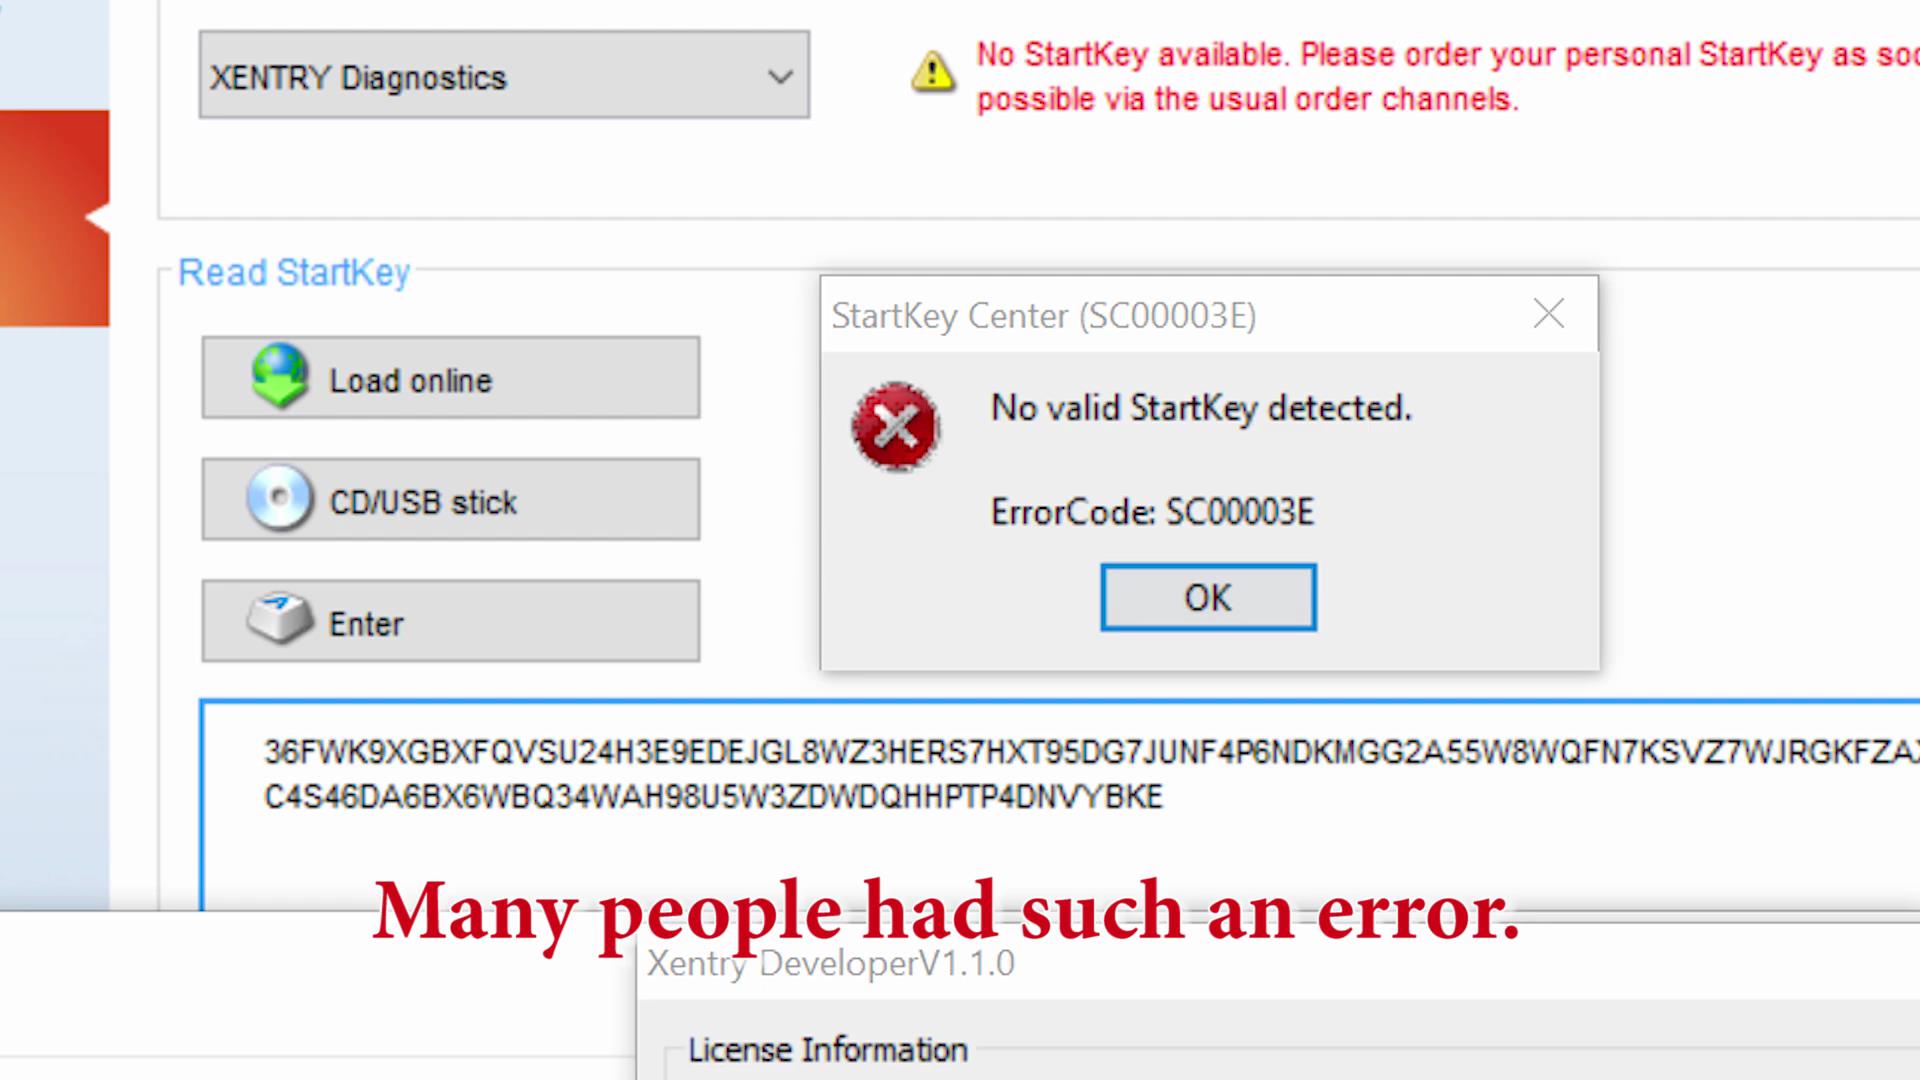
Many People had such an error
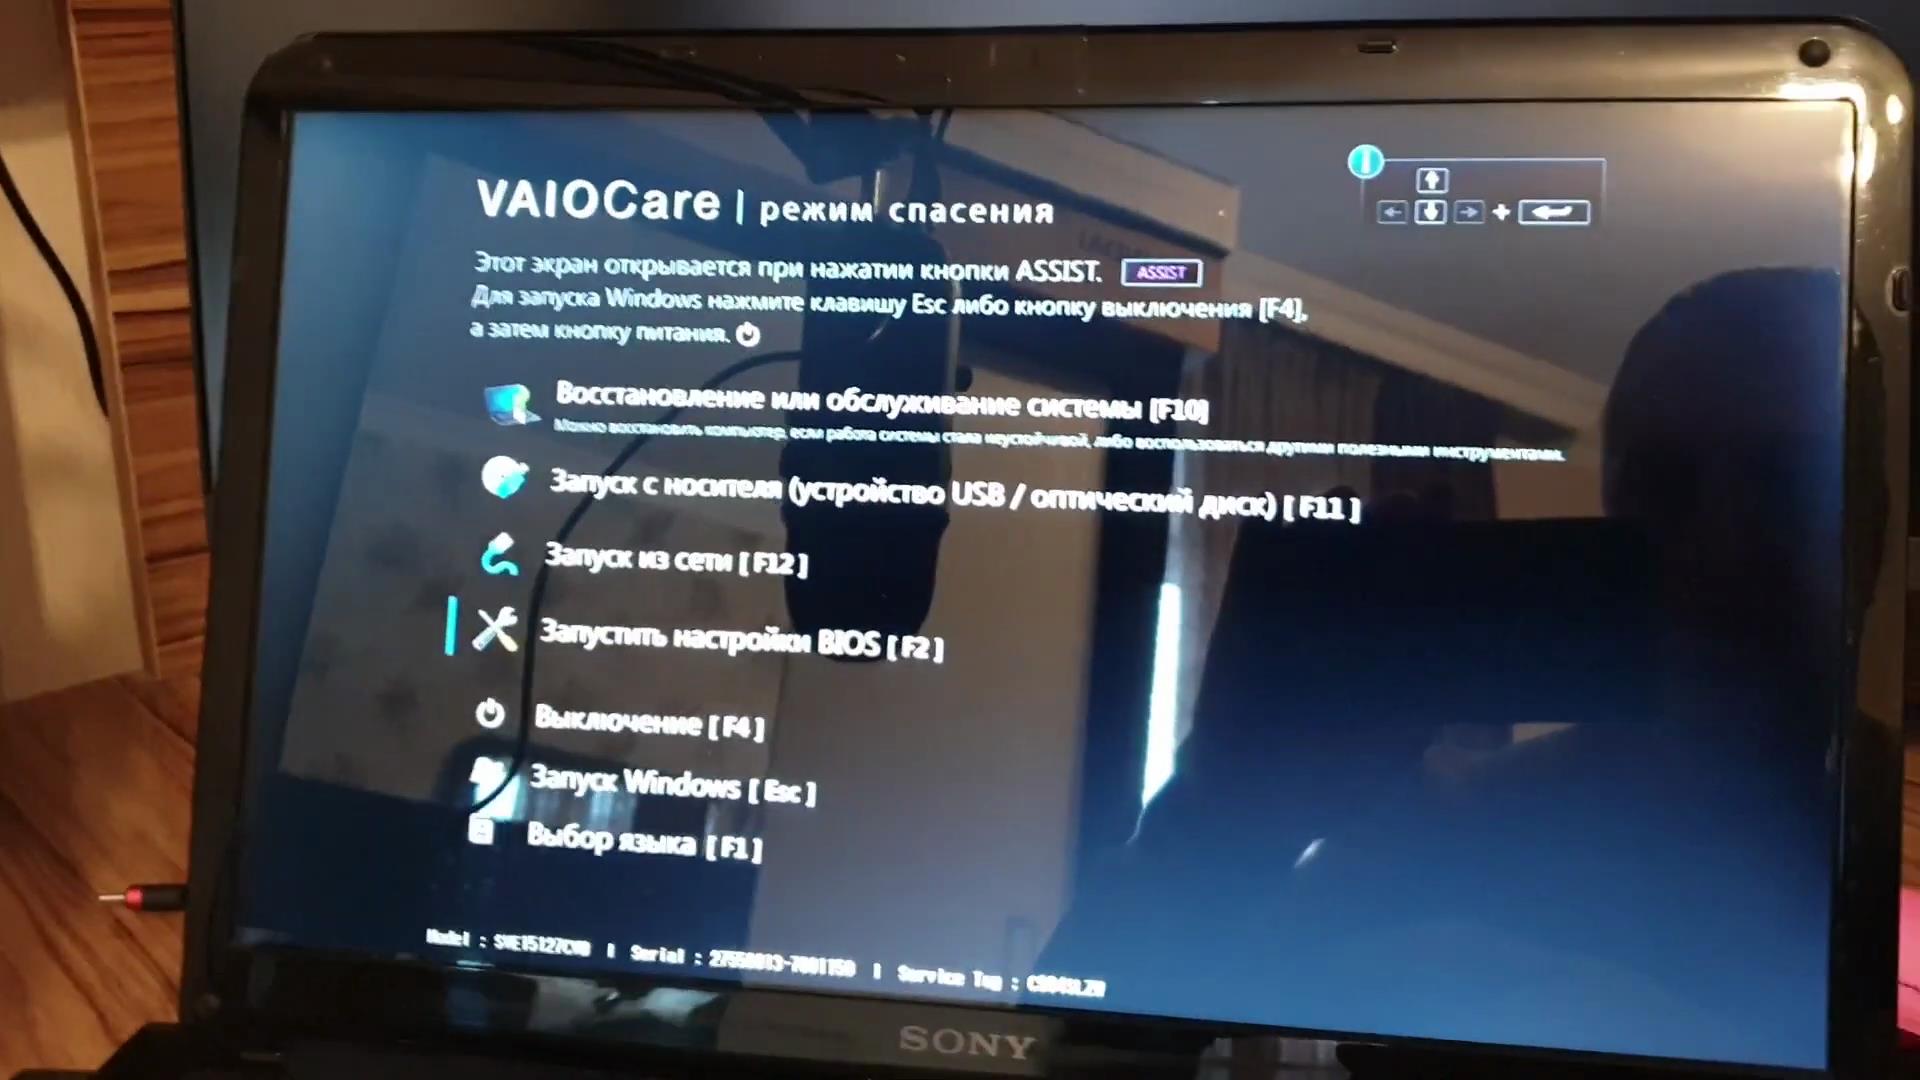
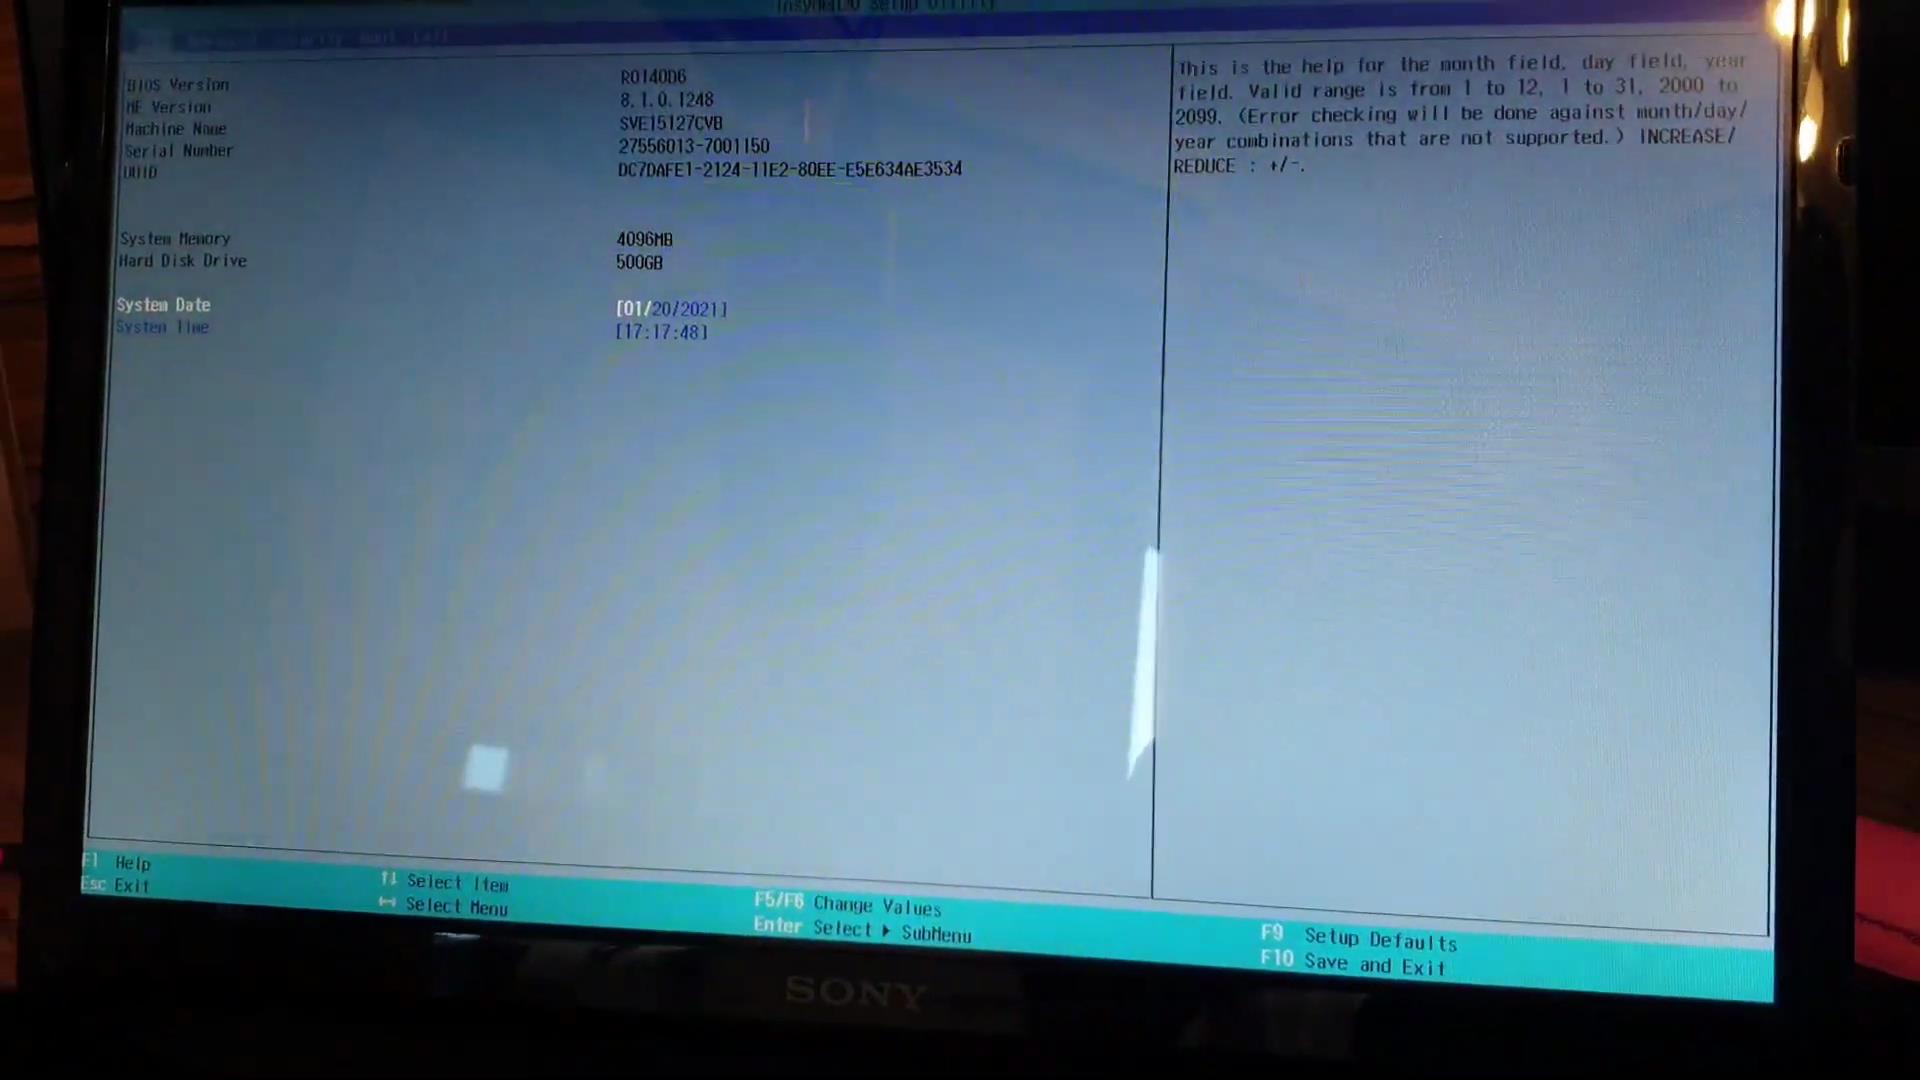
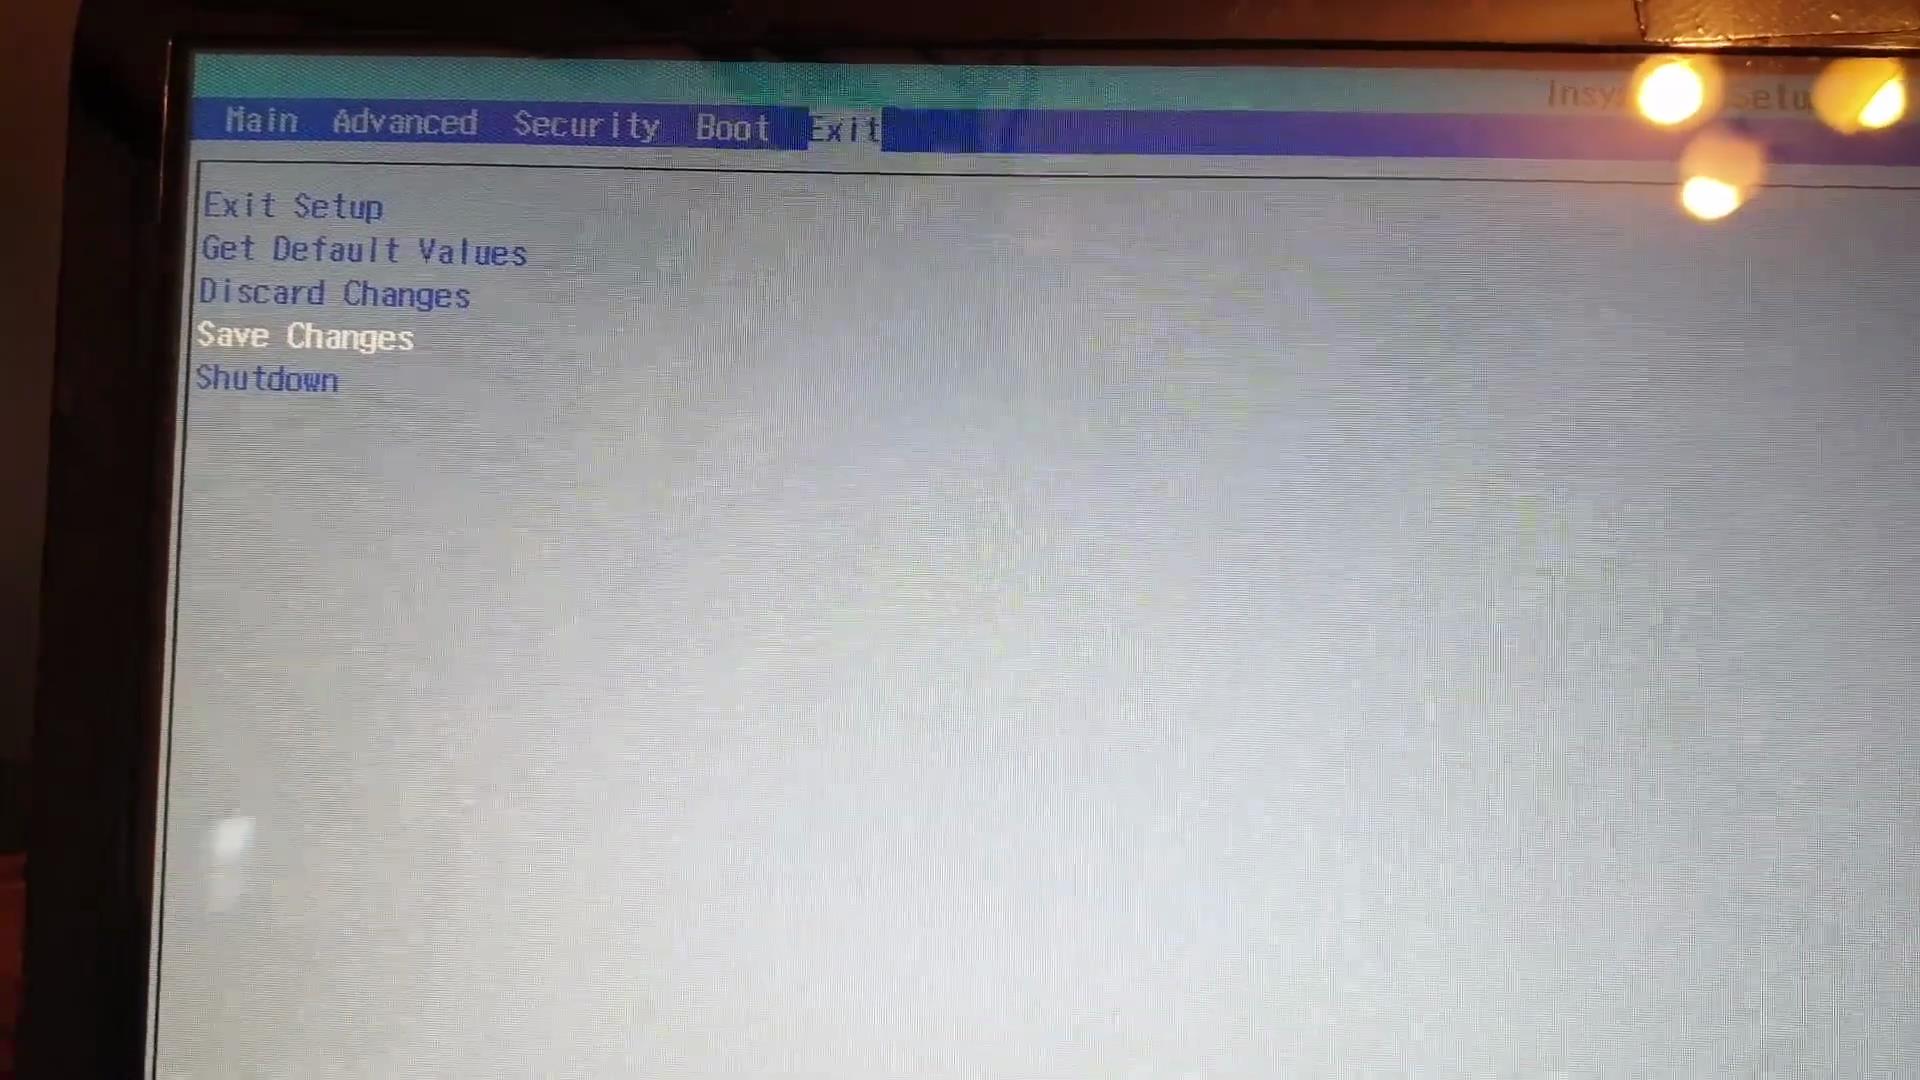
We reboot the computer and enter the BIOS. Either the F2 button or Delete
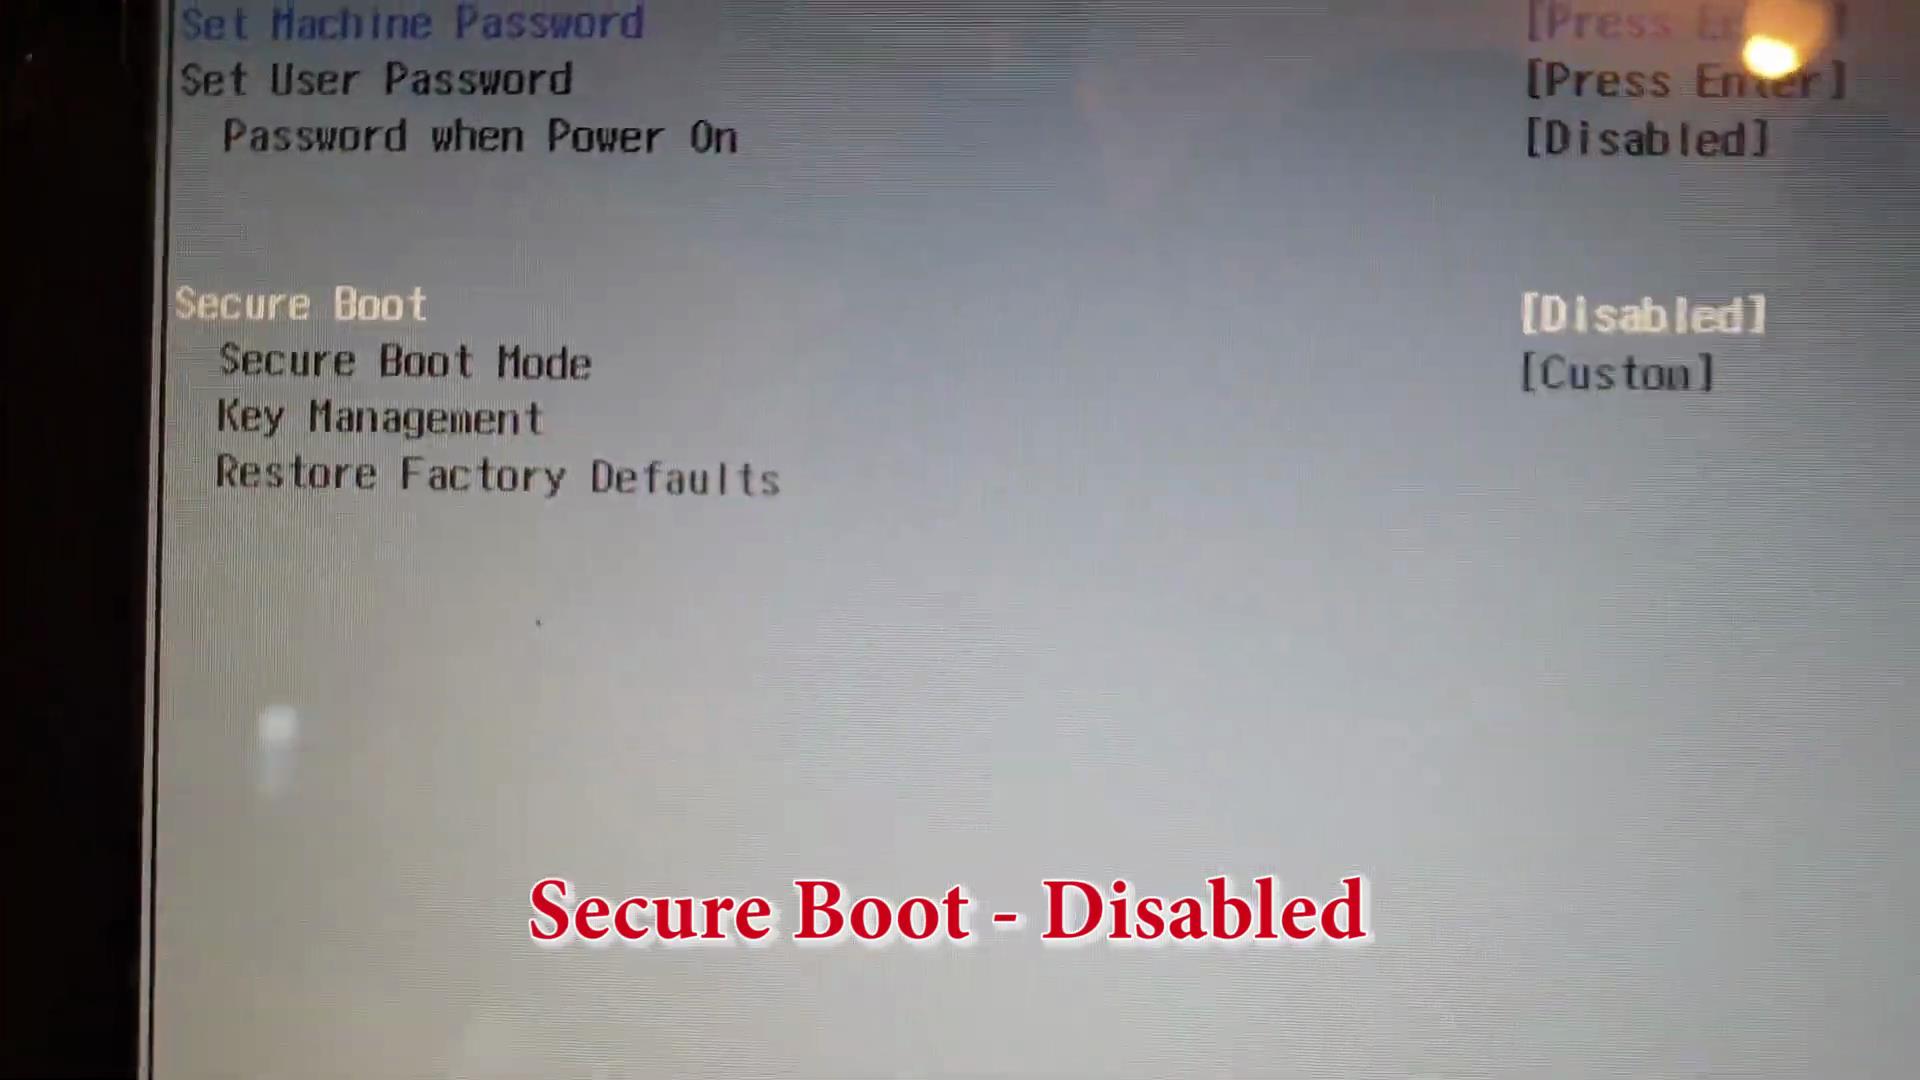
Secure Boot – Disabled
Save Changes
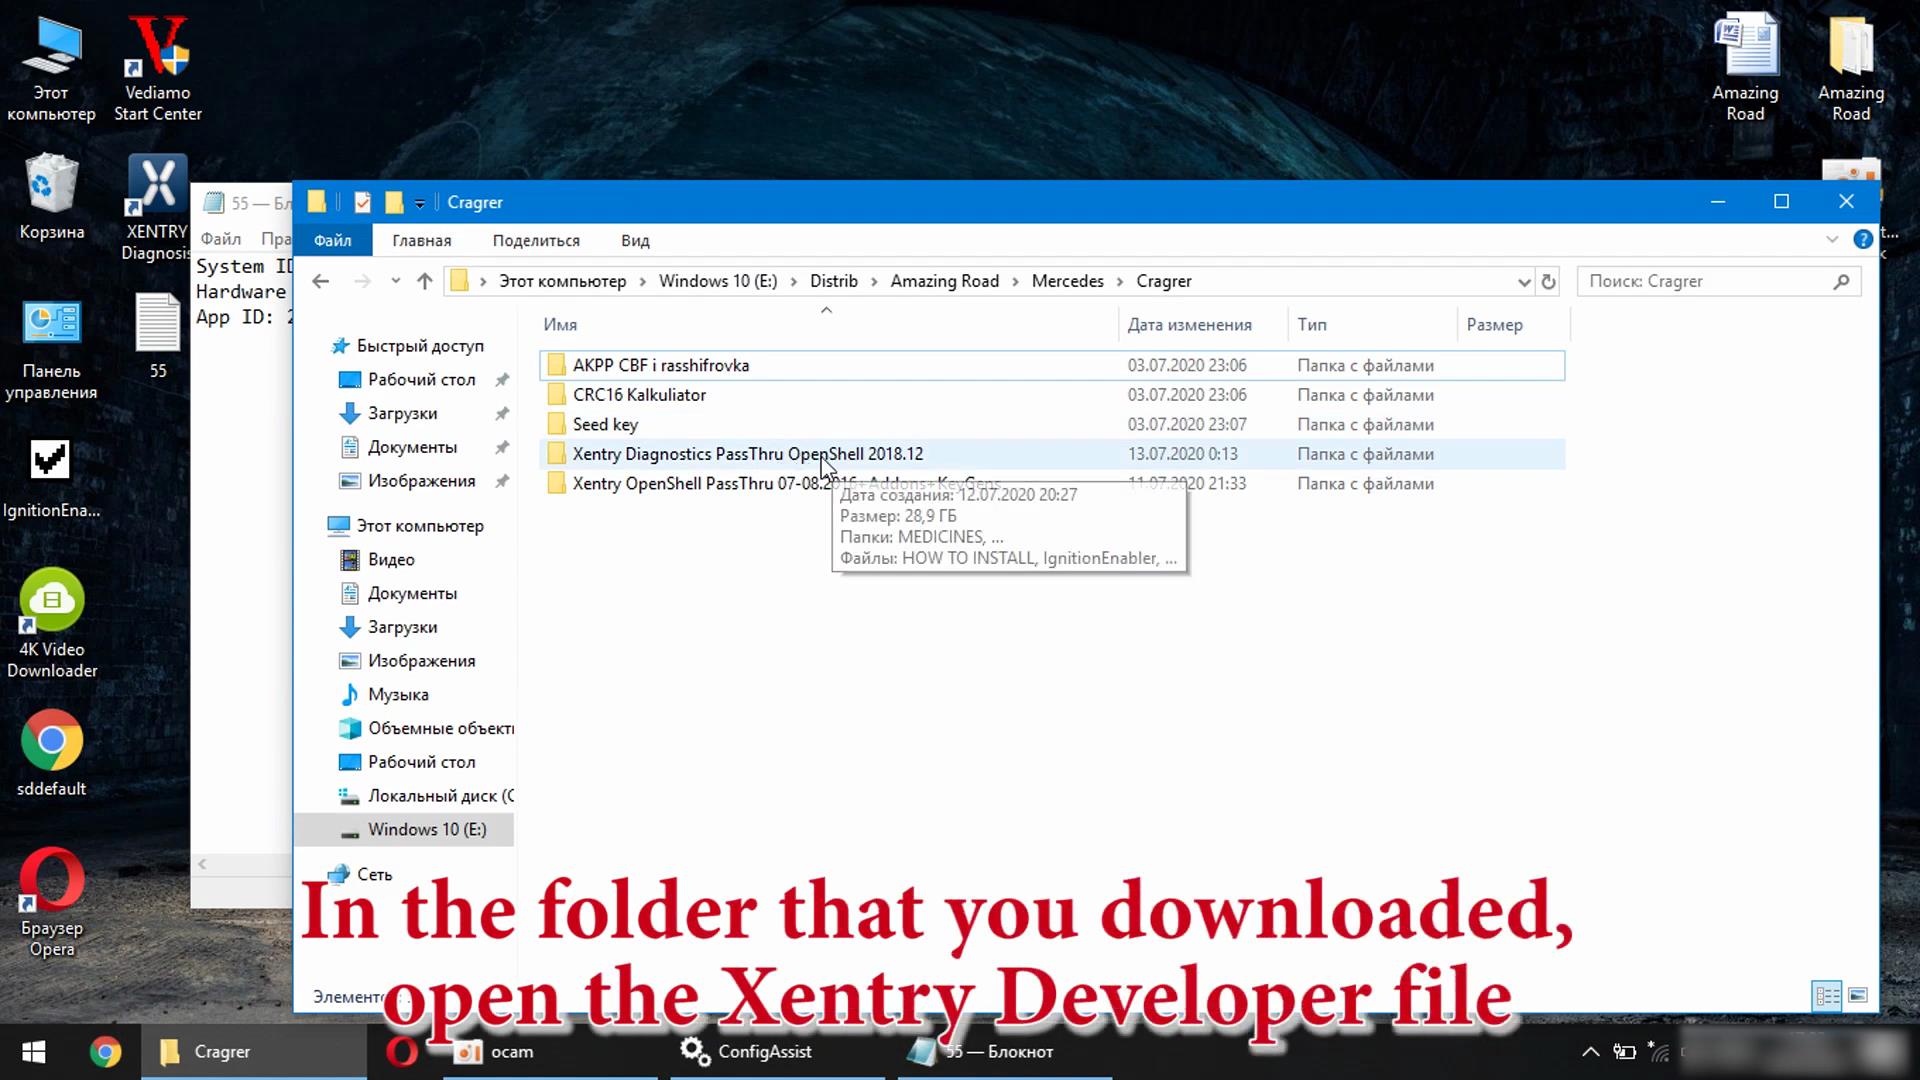
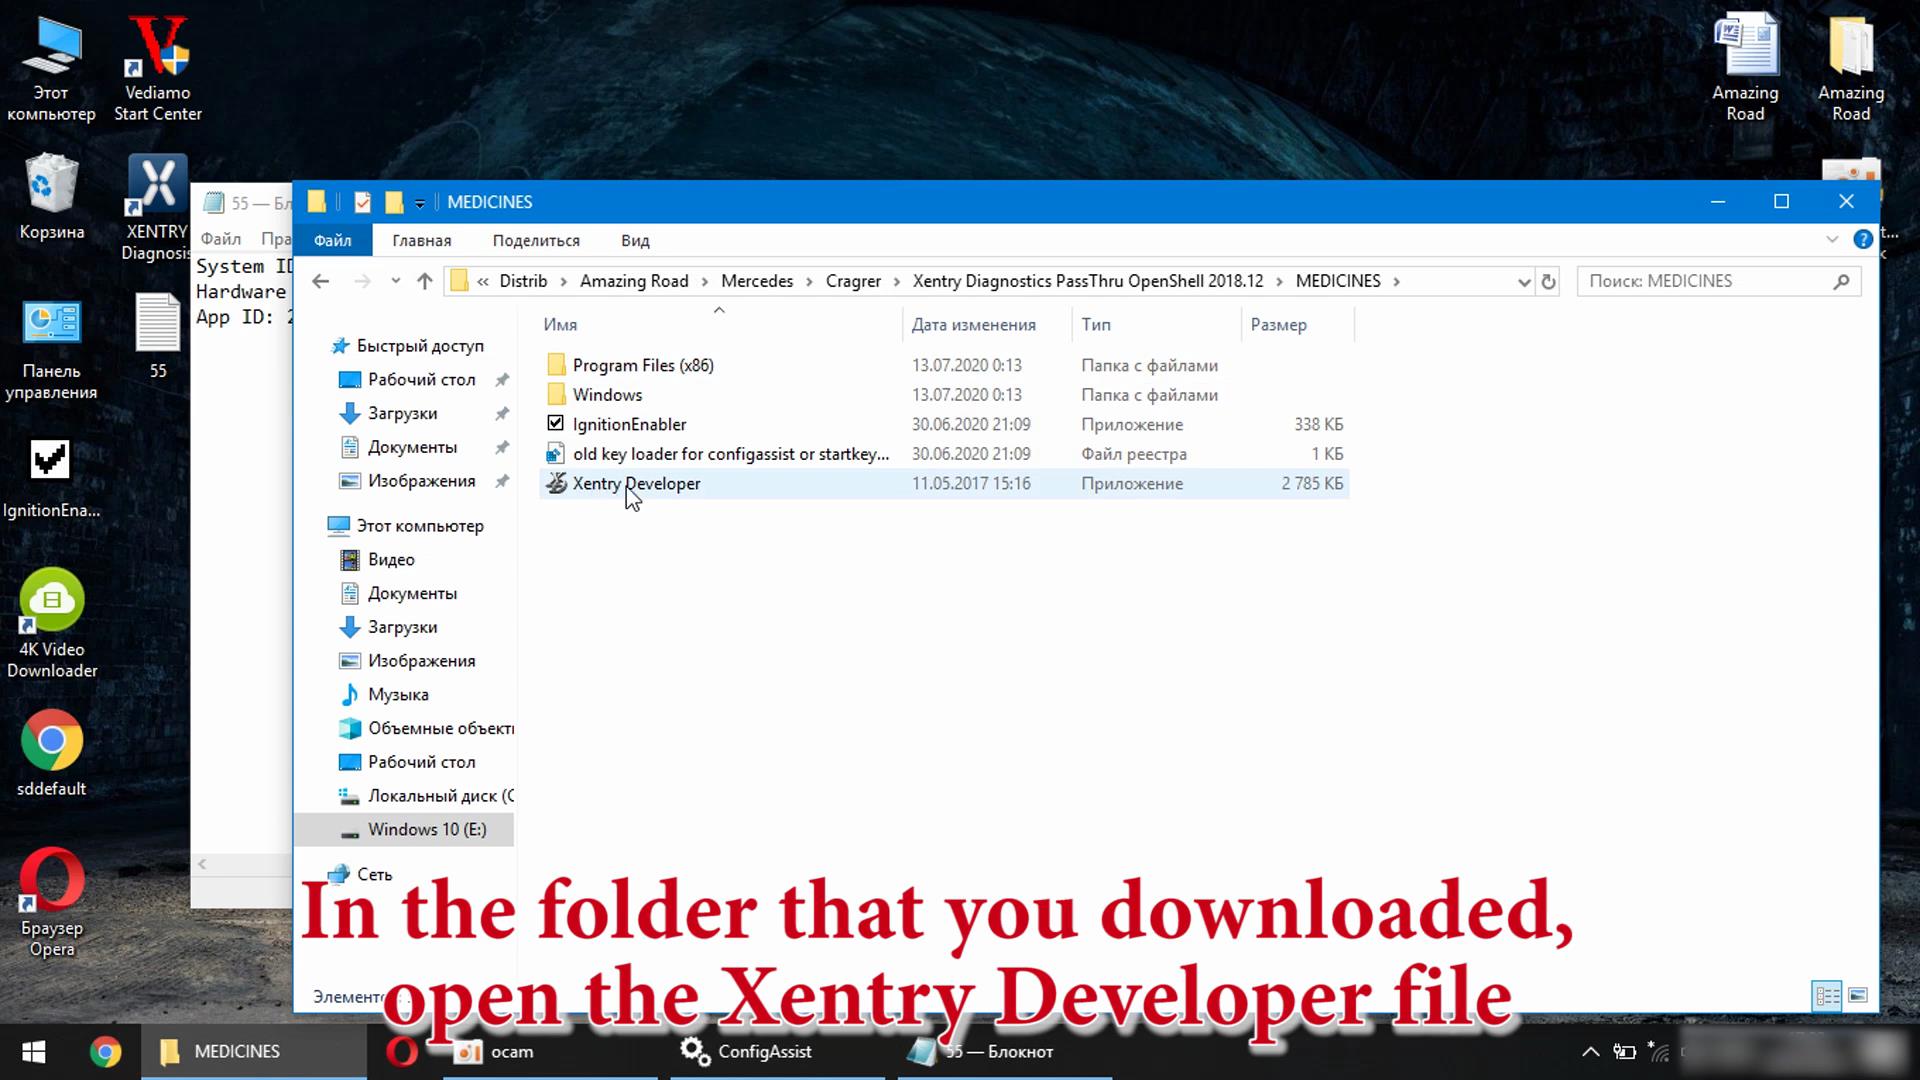
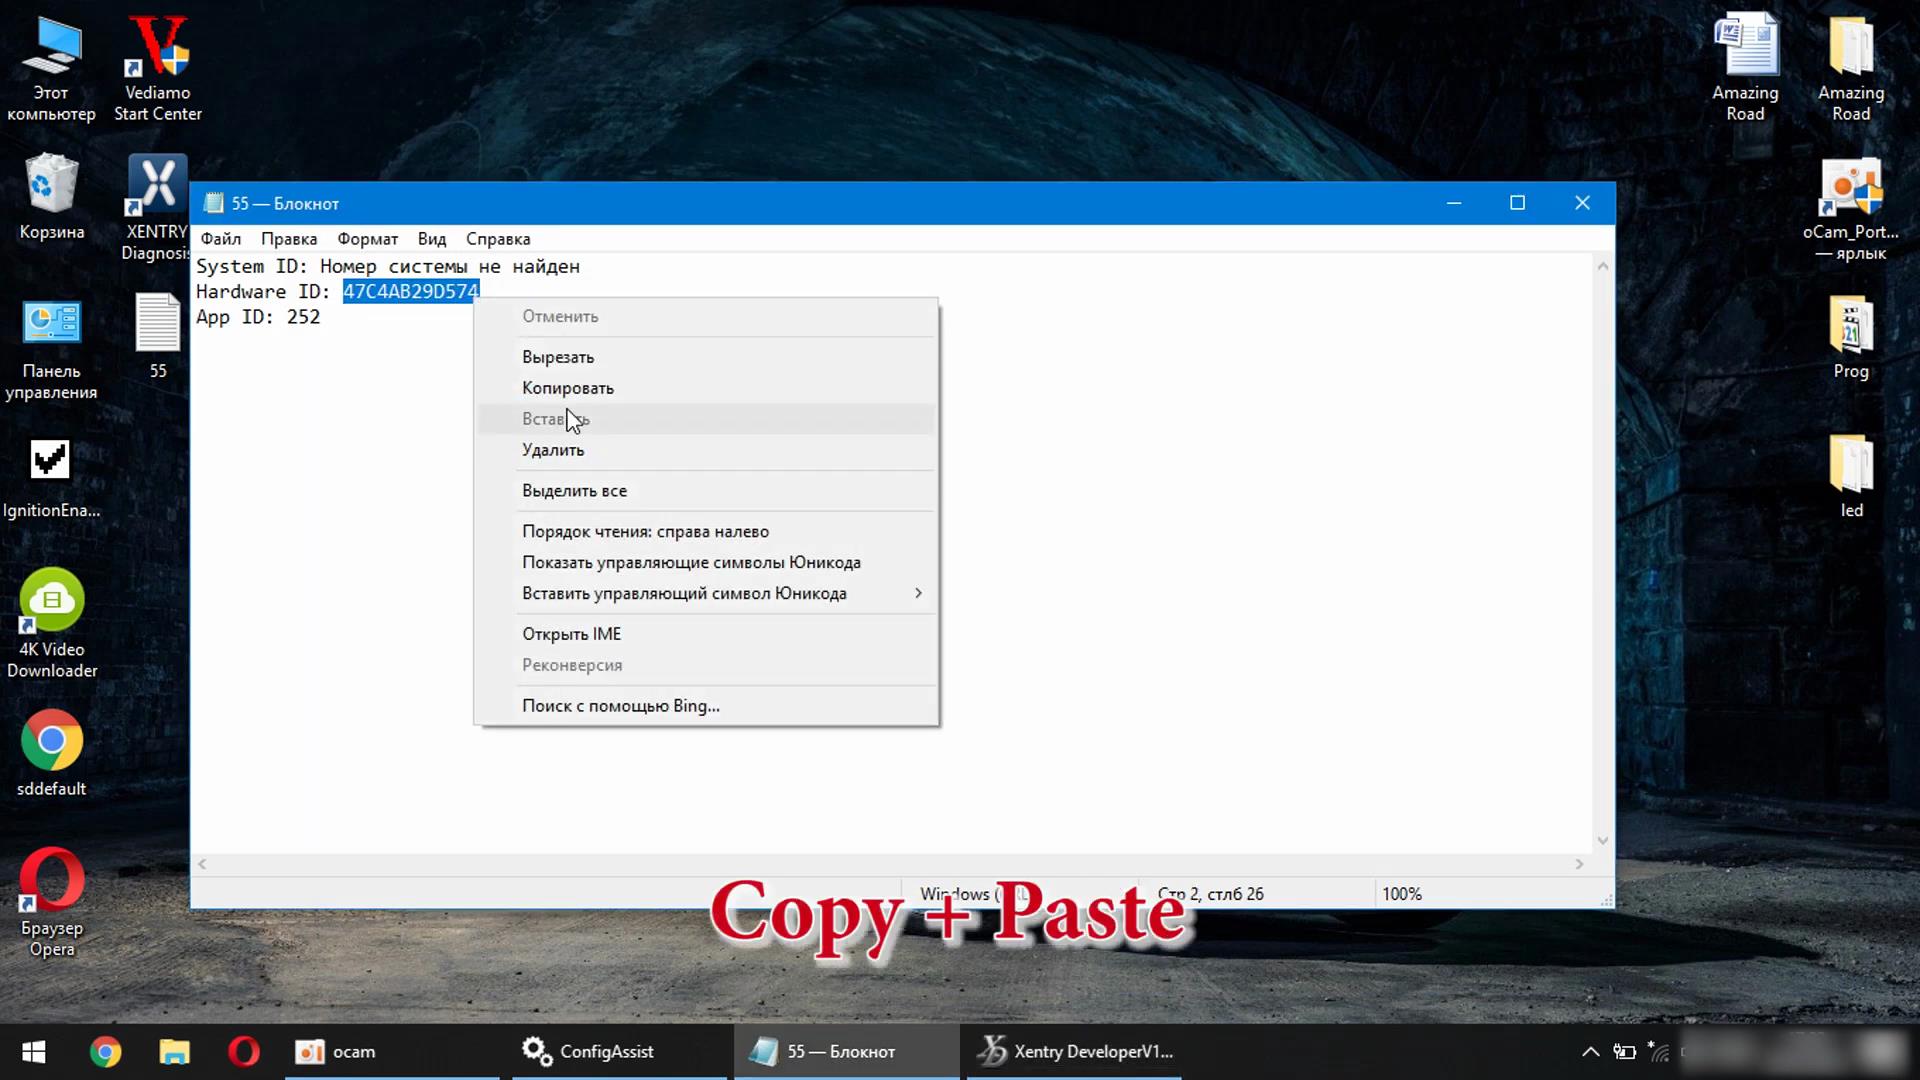
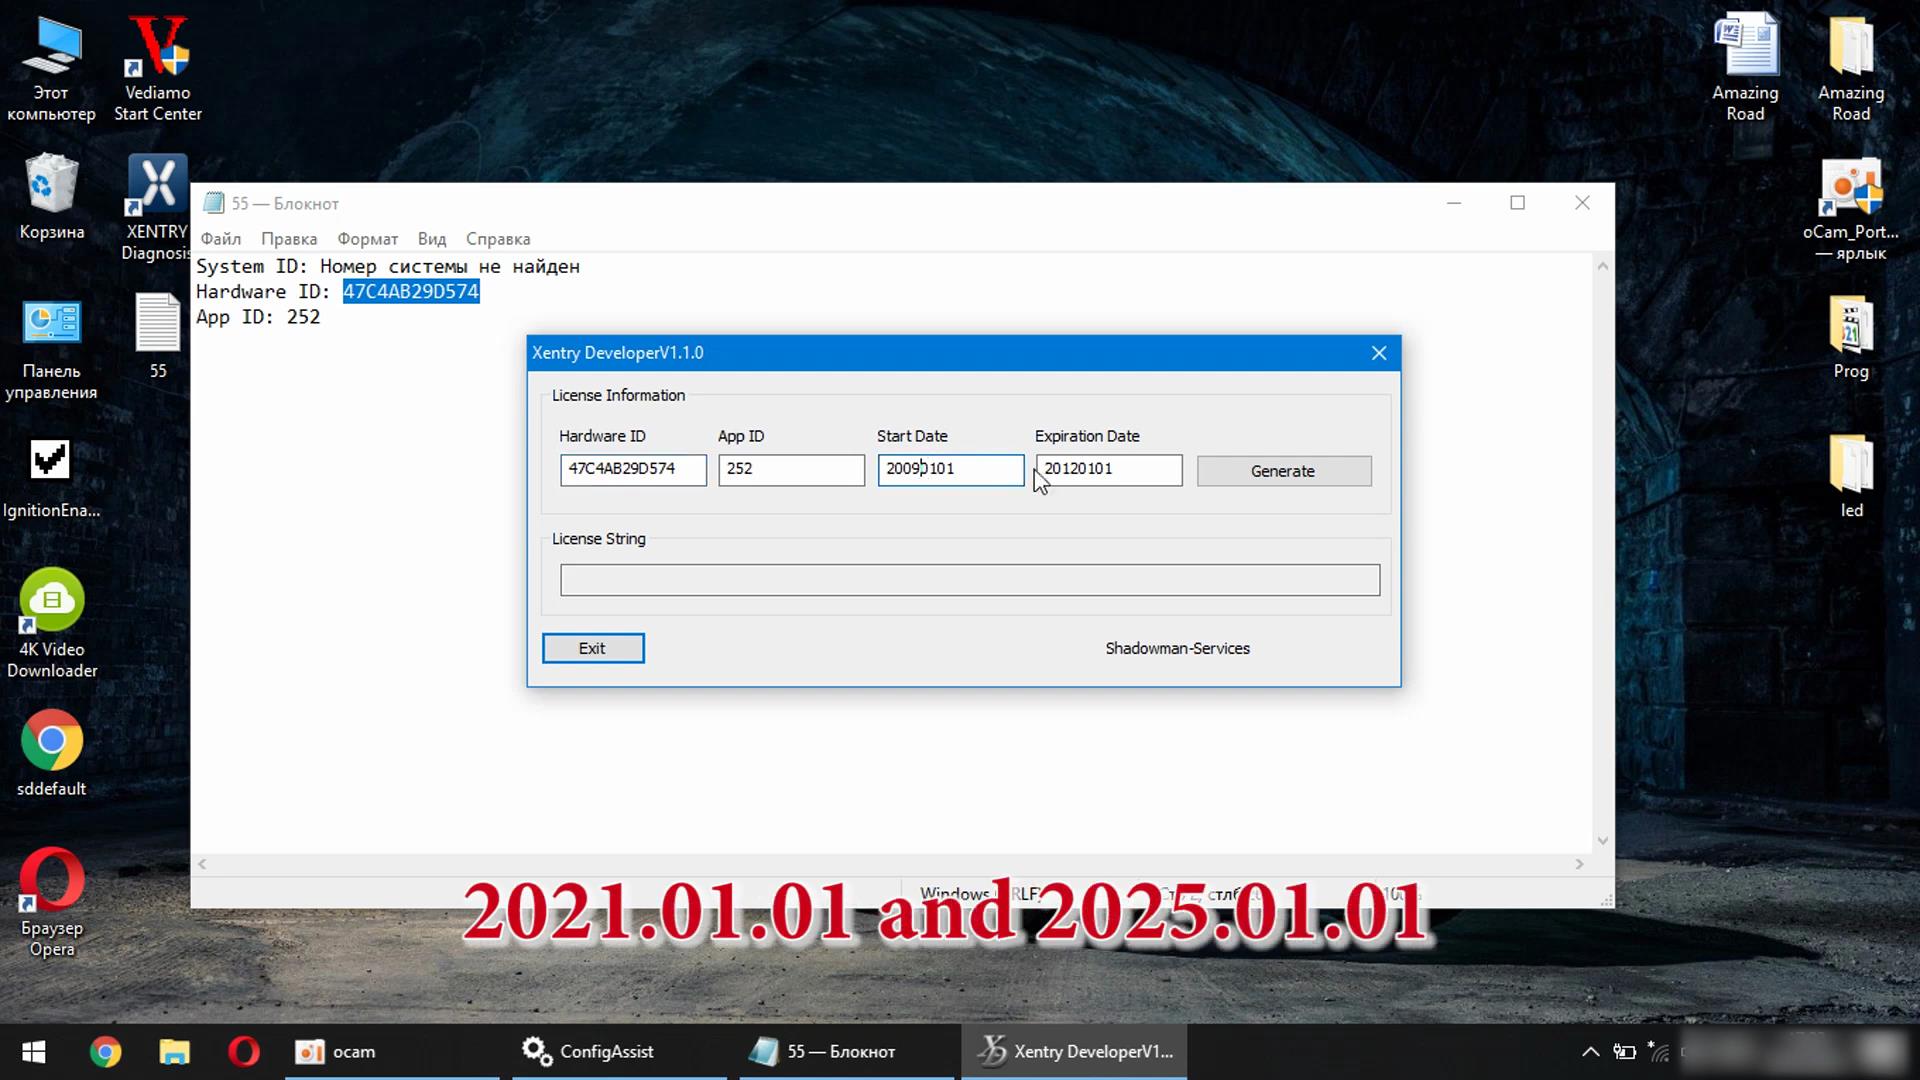
In the folder that you downloaded, open the Xentry Developer file
Copy + Paste
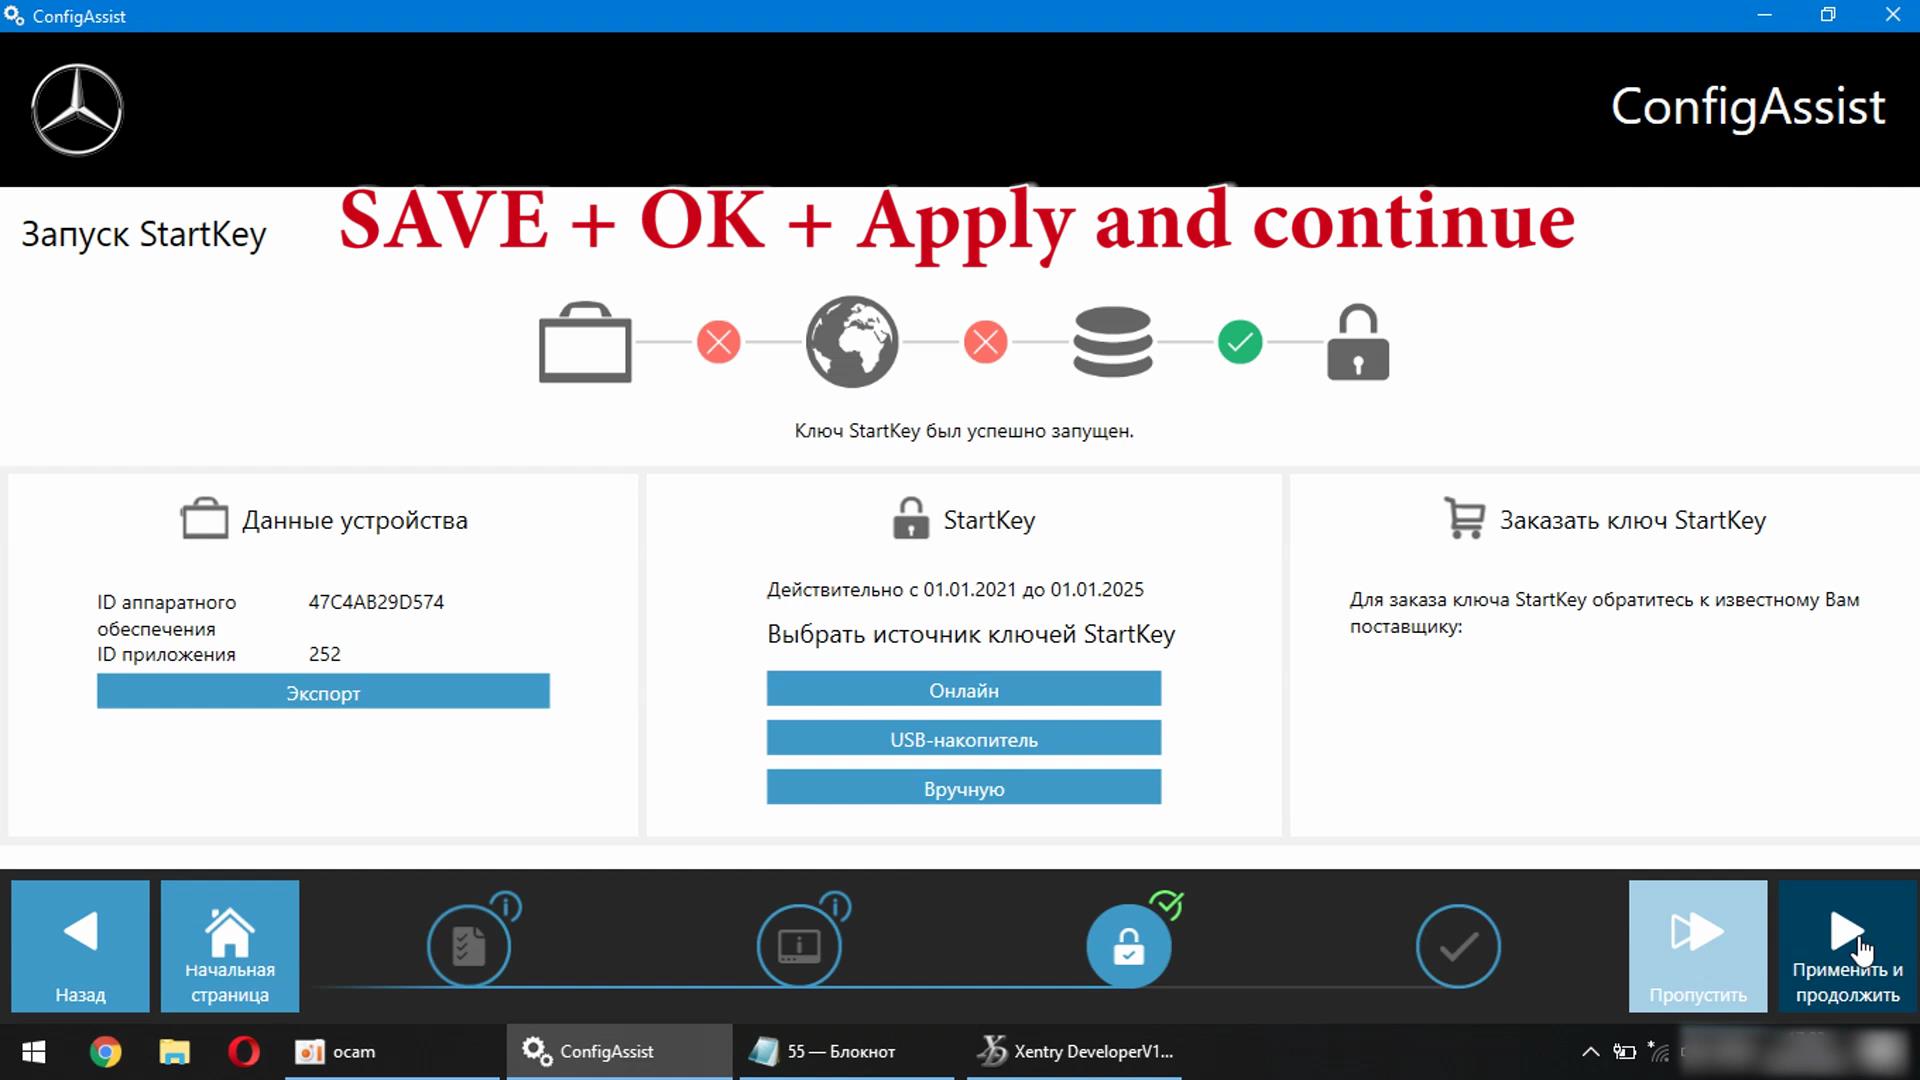
2021.01.01 and 2025.01.01
Click Generate
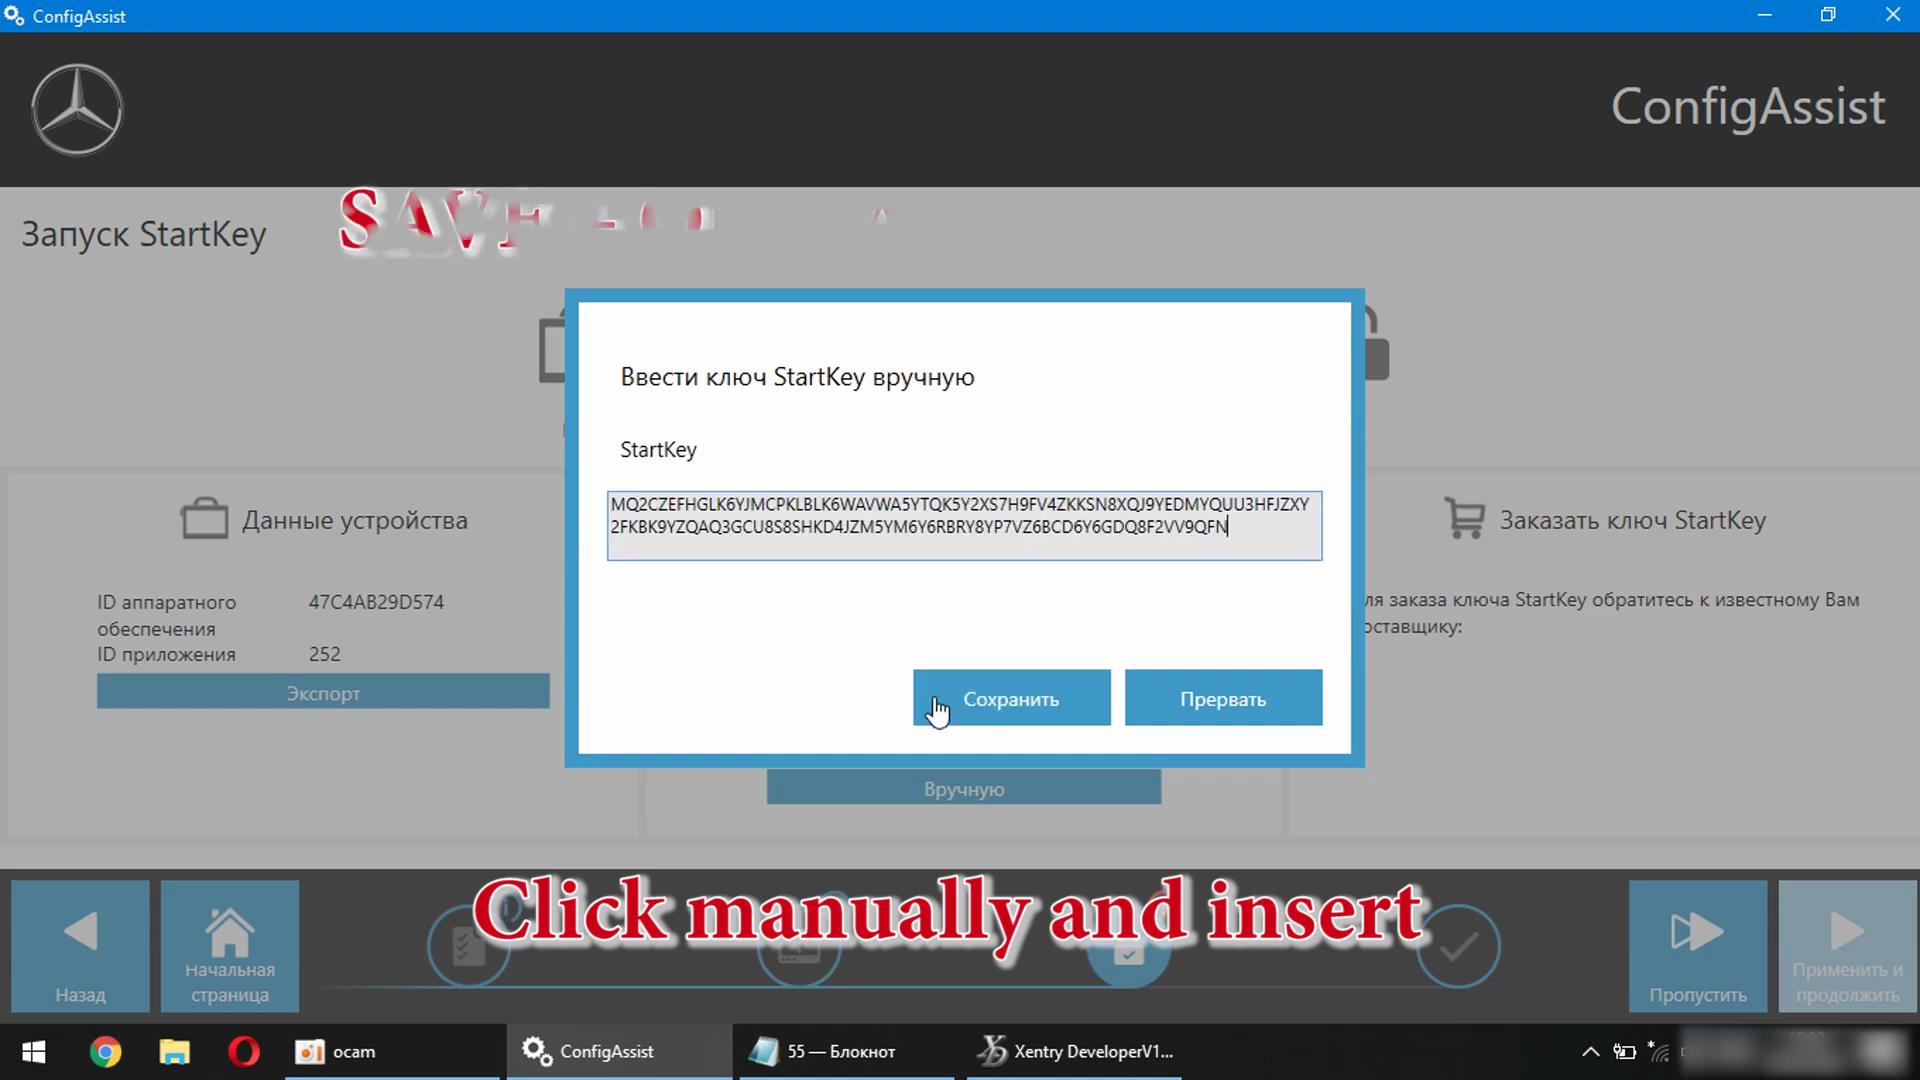
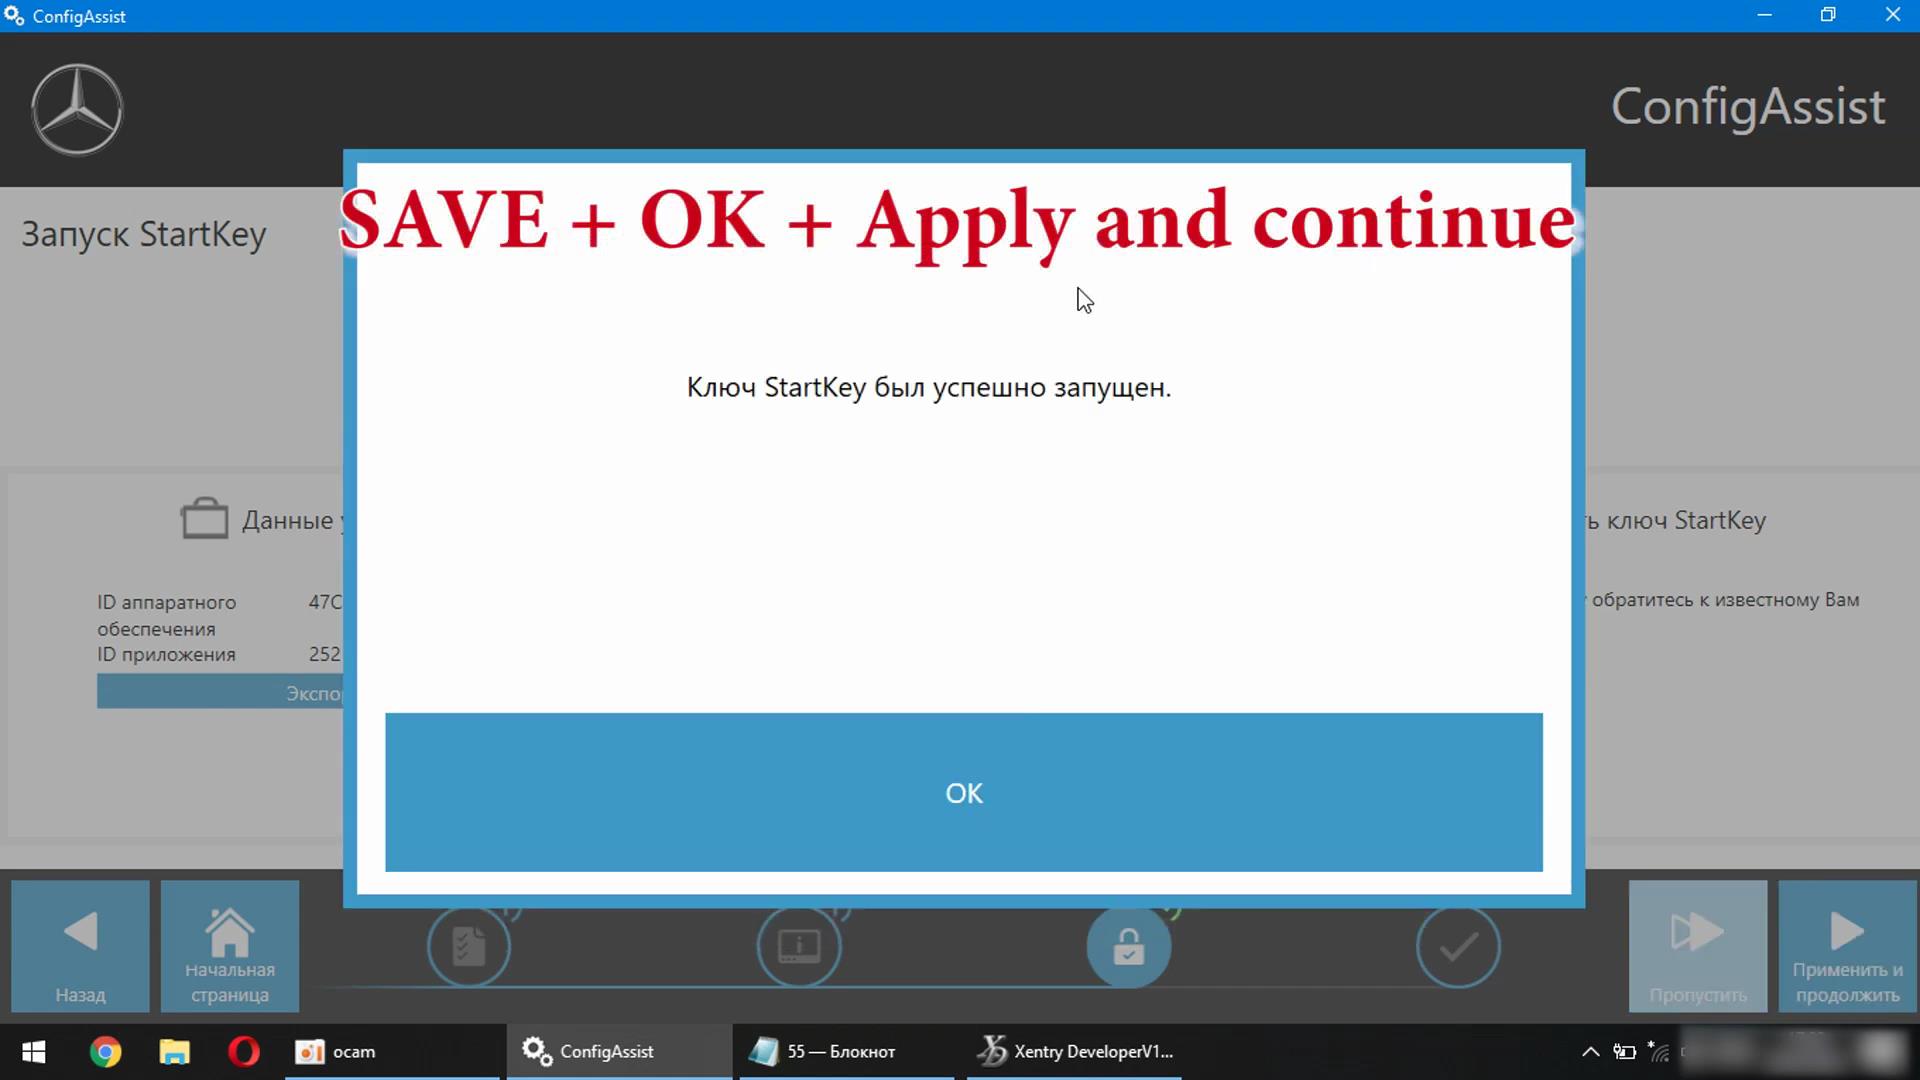
Click Mannually and insert
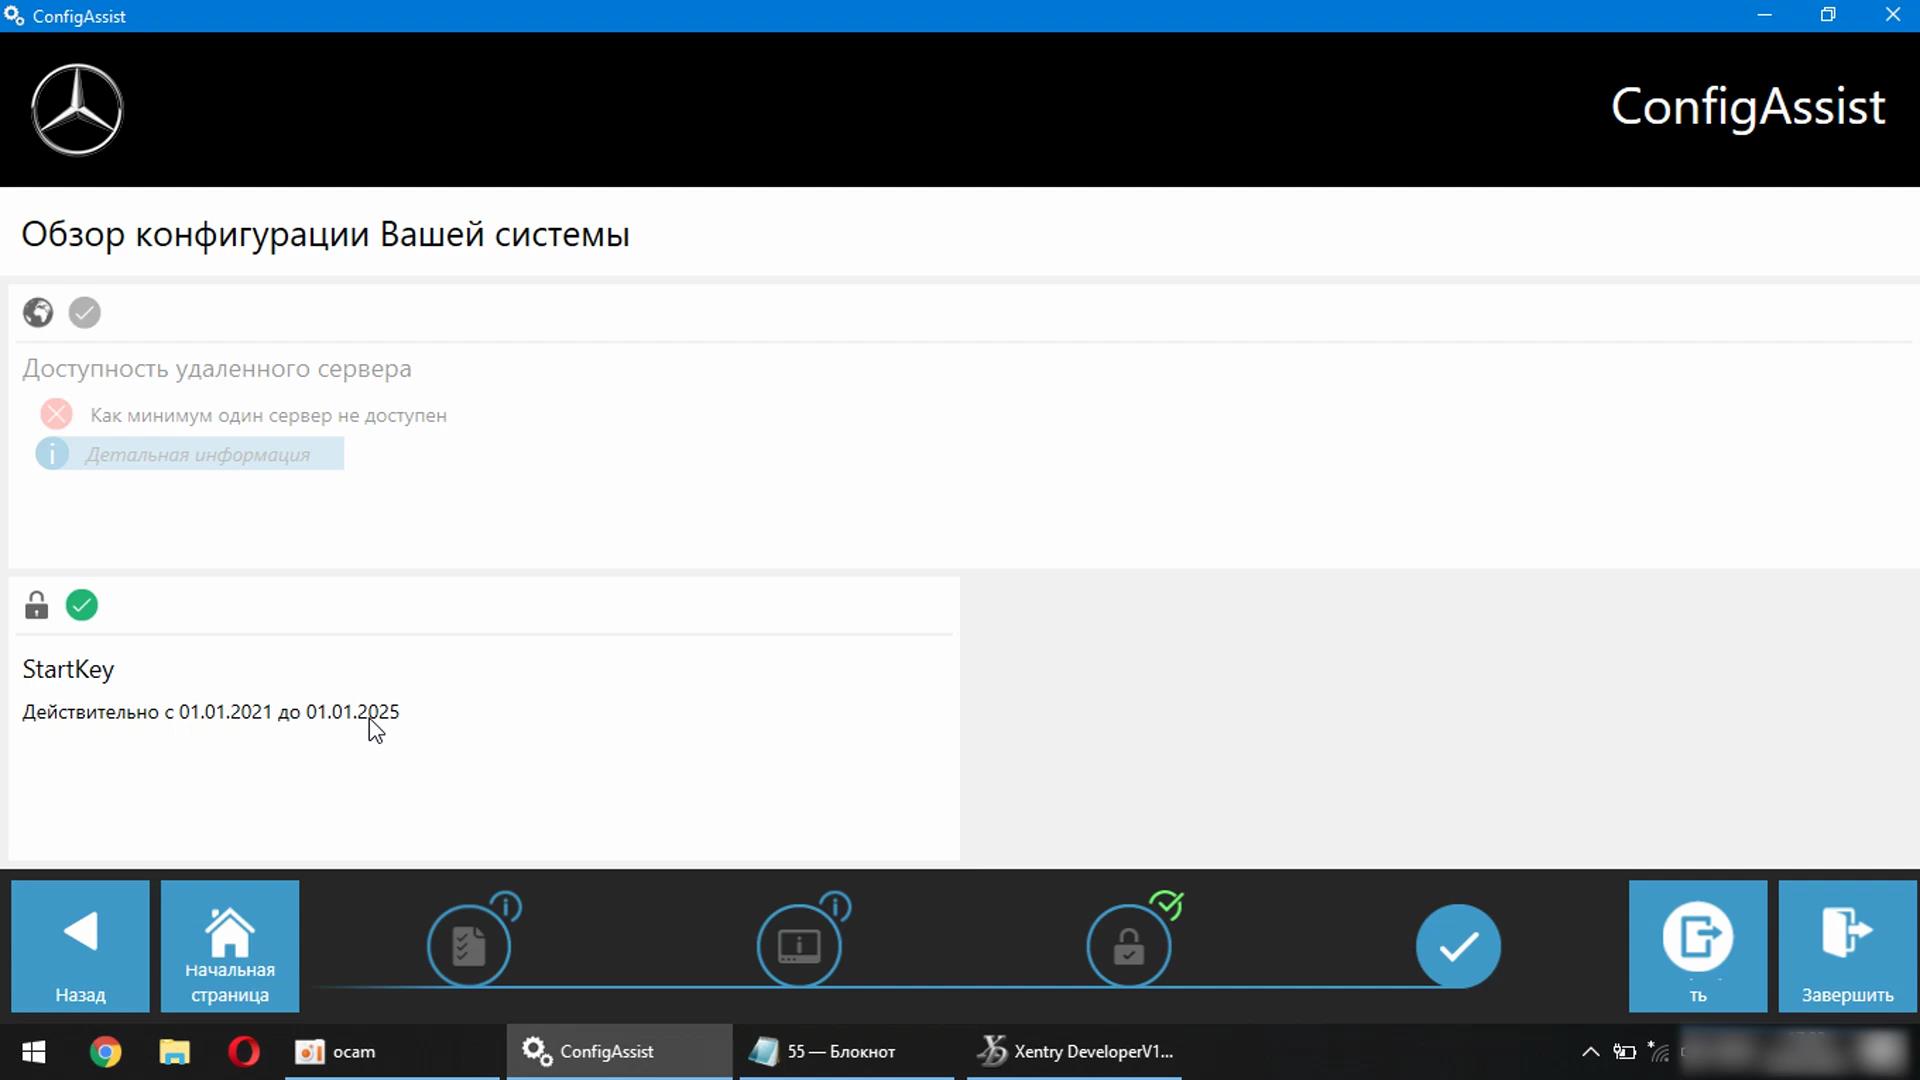
Save + OK + Apply and continue
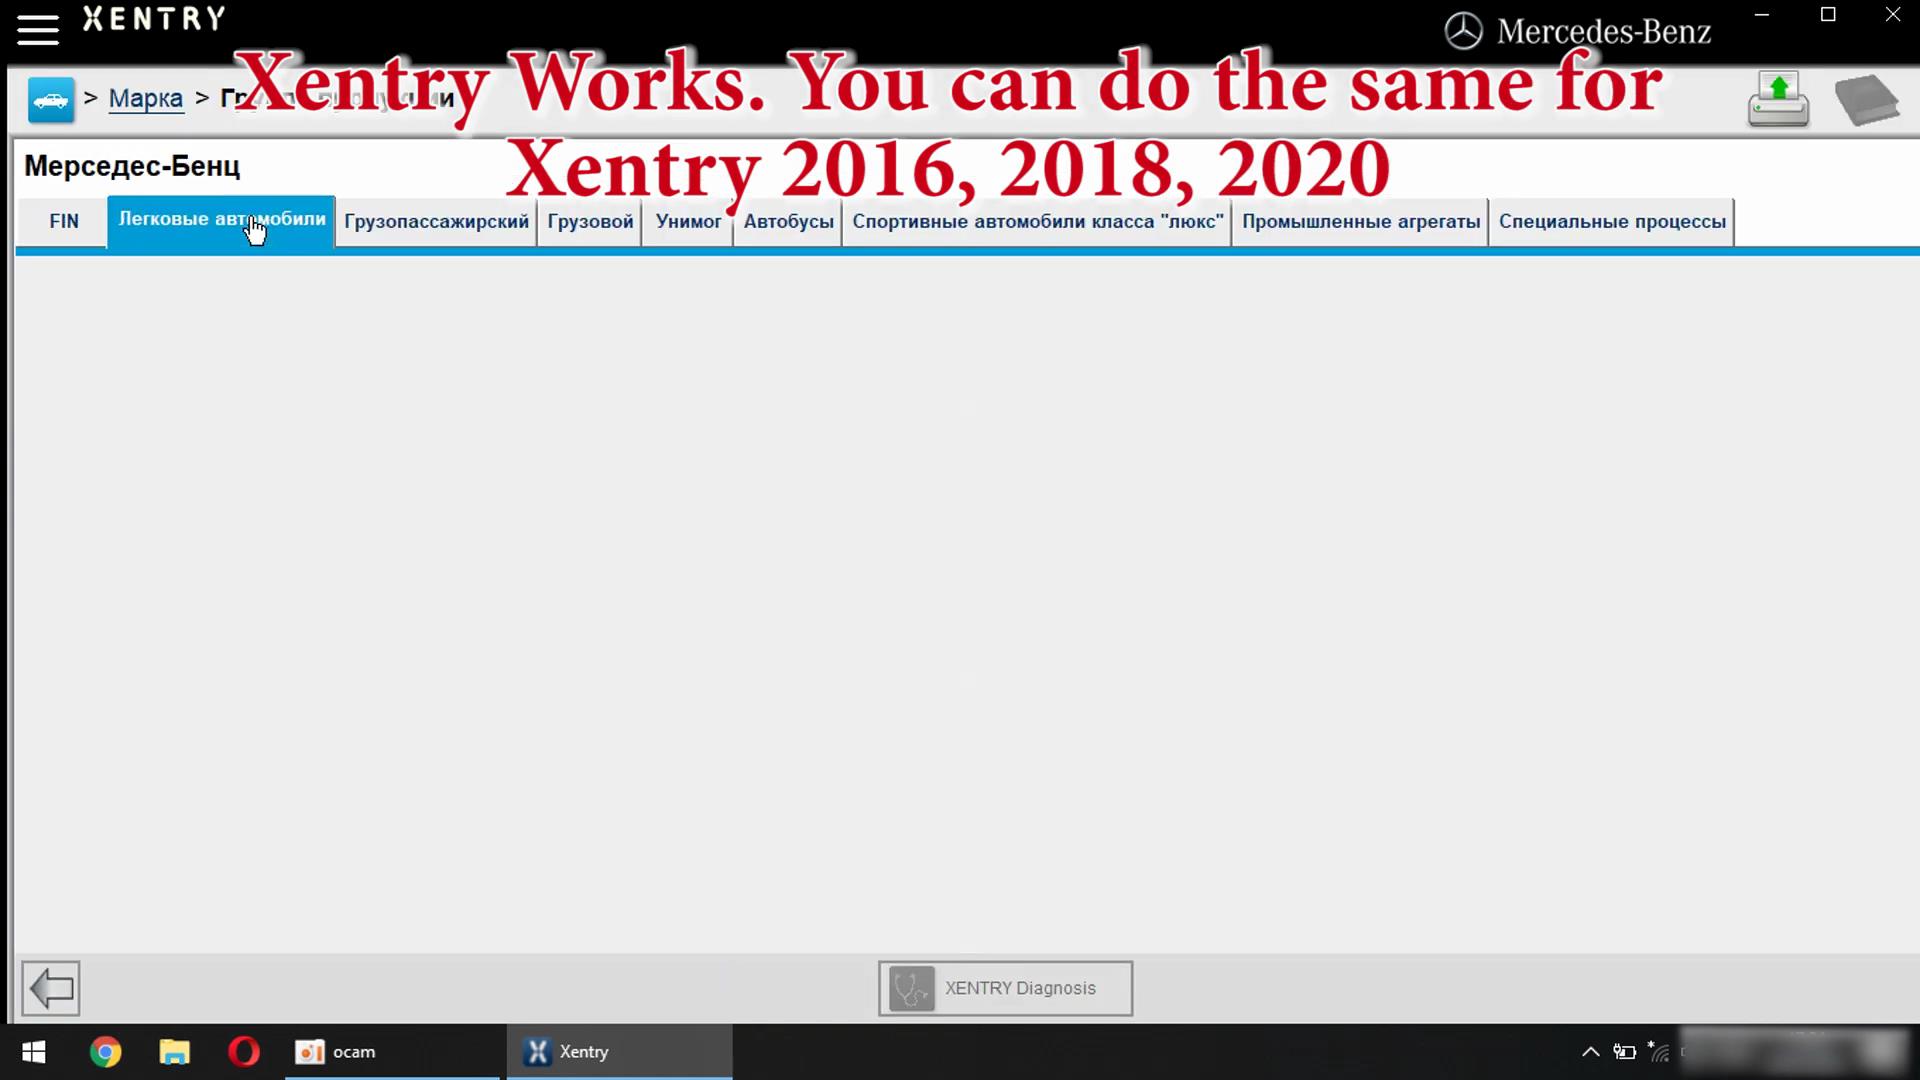
Xentry Works. You can do the same for Xentry 2016,2018,2020,2021
|
Archives
February 2022
类别 |


 RSS Feed
